LED headlight swap#
Wed Apr 9 17:48:36 2025
It is legal in the UK to retrofit LED bulbs(sic) into an existing motorcycle halogen headlamp fitting - provided that the beam pattern is correct and so on and so forth.
The MOT rules were changed in January 2021 to explicitly fail retrofit LED lights, and then again in March 2021 to not fail retrofit LED lights, but only for motorcycles and for cars that predate 1986. (You might notice that the MOT special notice which makes this explicit is withdrawn, but that's a normal process when special notices get subsumed into the next version of the manual itself)
Doing the swap turned out to be simpler than I anticipated. The pictures in the Haynes manual are grainy and unclear, but I've seen enough video guides of motorbike tasks to know that I hate watching them, so here's my attempt at documenting the process using words and pictures only.
[There are some images with no alt texts in this thread, because they're just showing what the body text is already describing]
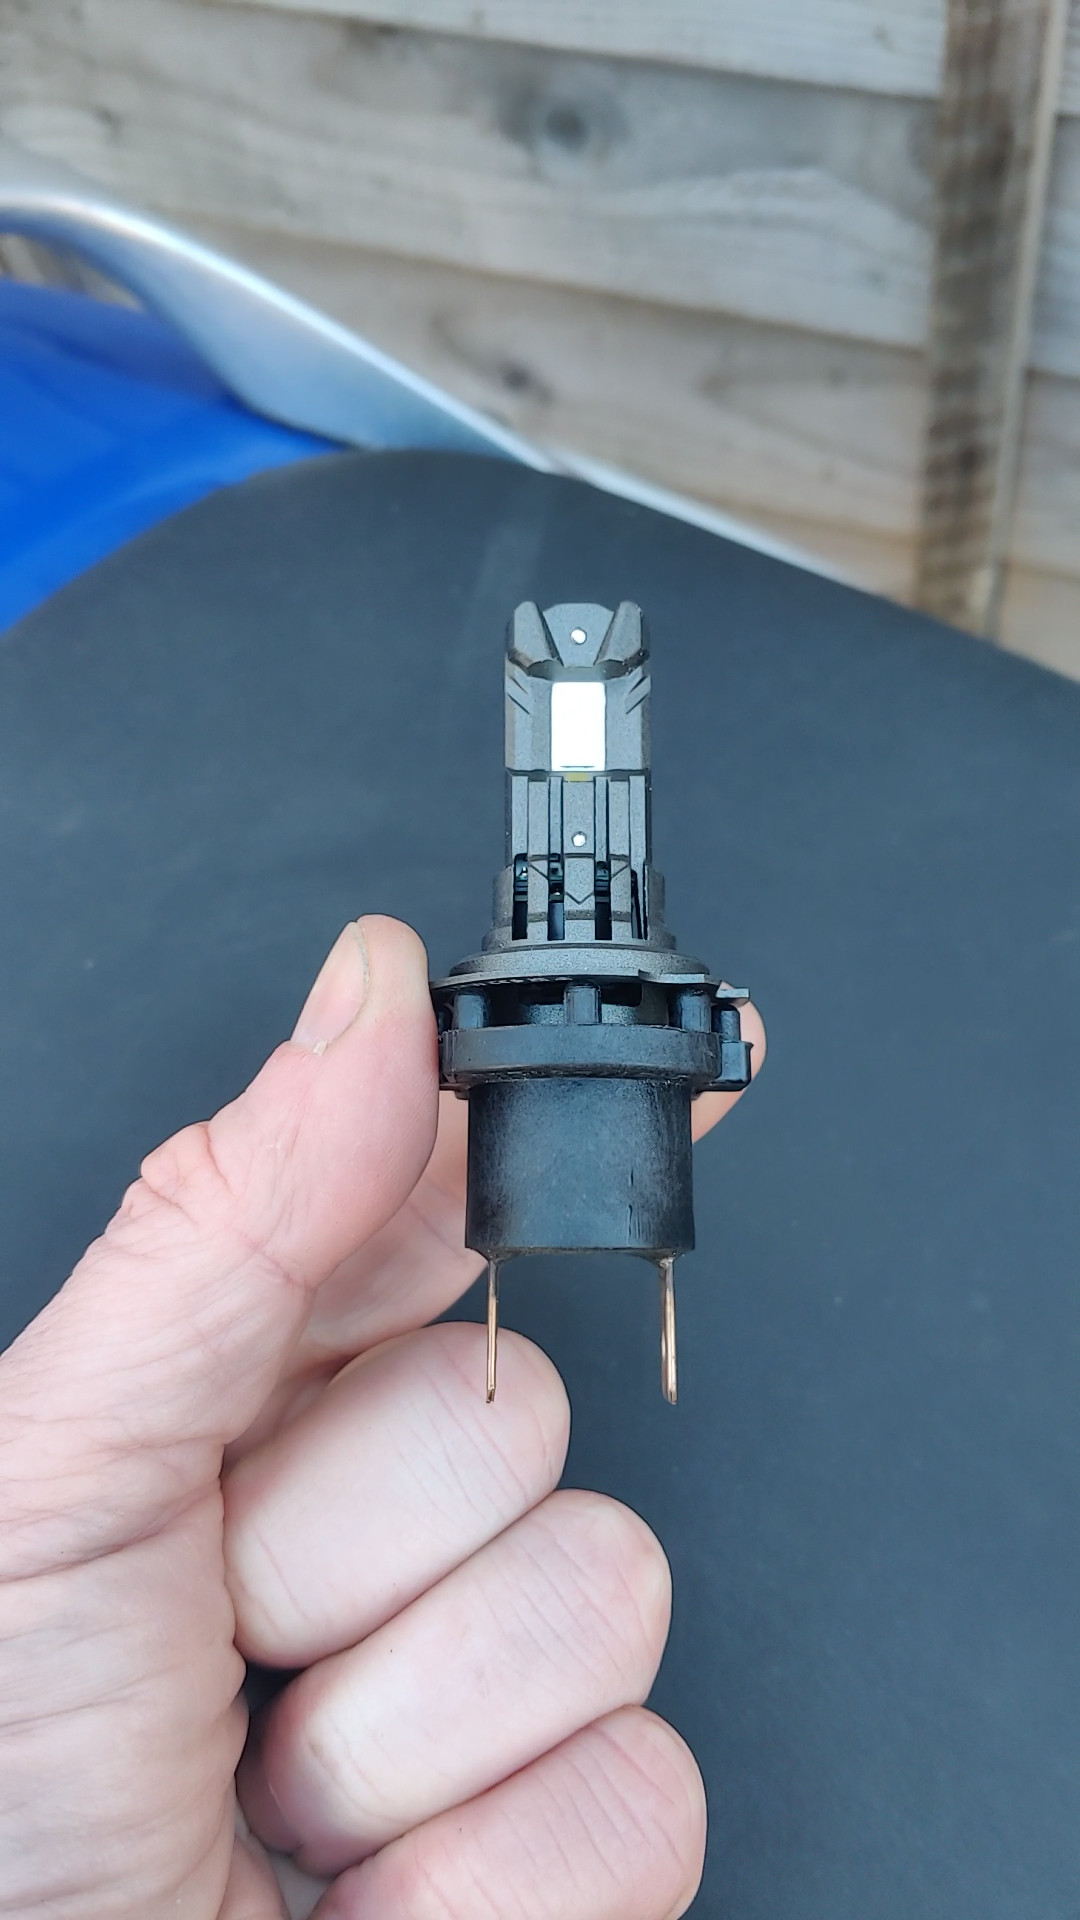
 First, choose a compatible bulb. For a CBR600F of this era, that's
H7 - and because there's a big rubber boot that fits over the back of
the headlight, preferably a bulb without a huge great heatsink
sticking out of its base, or any kind of separate transformer box.
And as I want to be reasonably sure that the light is going where I
want it and not straight into the the eyeballs of oncoming road users,
it also needs to be a bulb whose light source is the same size and in the same place as
the filament would be in a filament bulb ,otherwise it'll bounce off
the reflector in the wrong places.
First, choose a compatible bulb. For a CBR600F of this era, that's
H7 - and because there's a big rubber boot that fits over the back of
the headlight, preferably a bulb without a huge great heatsink
sticking out of its base, or any kind of separate transformer box.
And as I want to be reasonably sure that the light is going where I
want it and not straight into the the eyeballs of oncoming road users,
it also needs to be a bulb whose light source is the same size and in the same place as
the filament would be in a filament bulb ,otherwise it'll bounce off
the reflector in the wrong places.
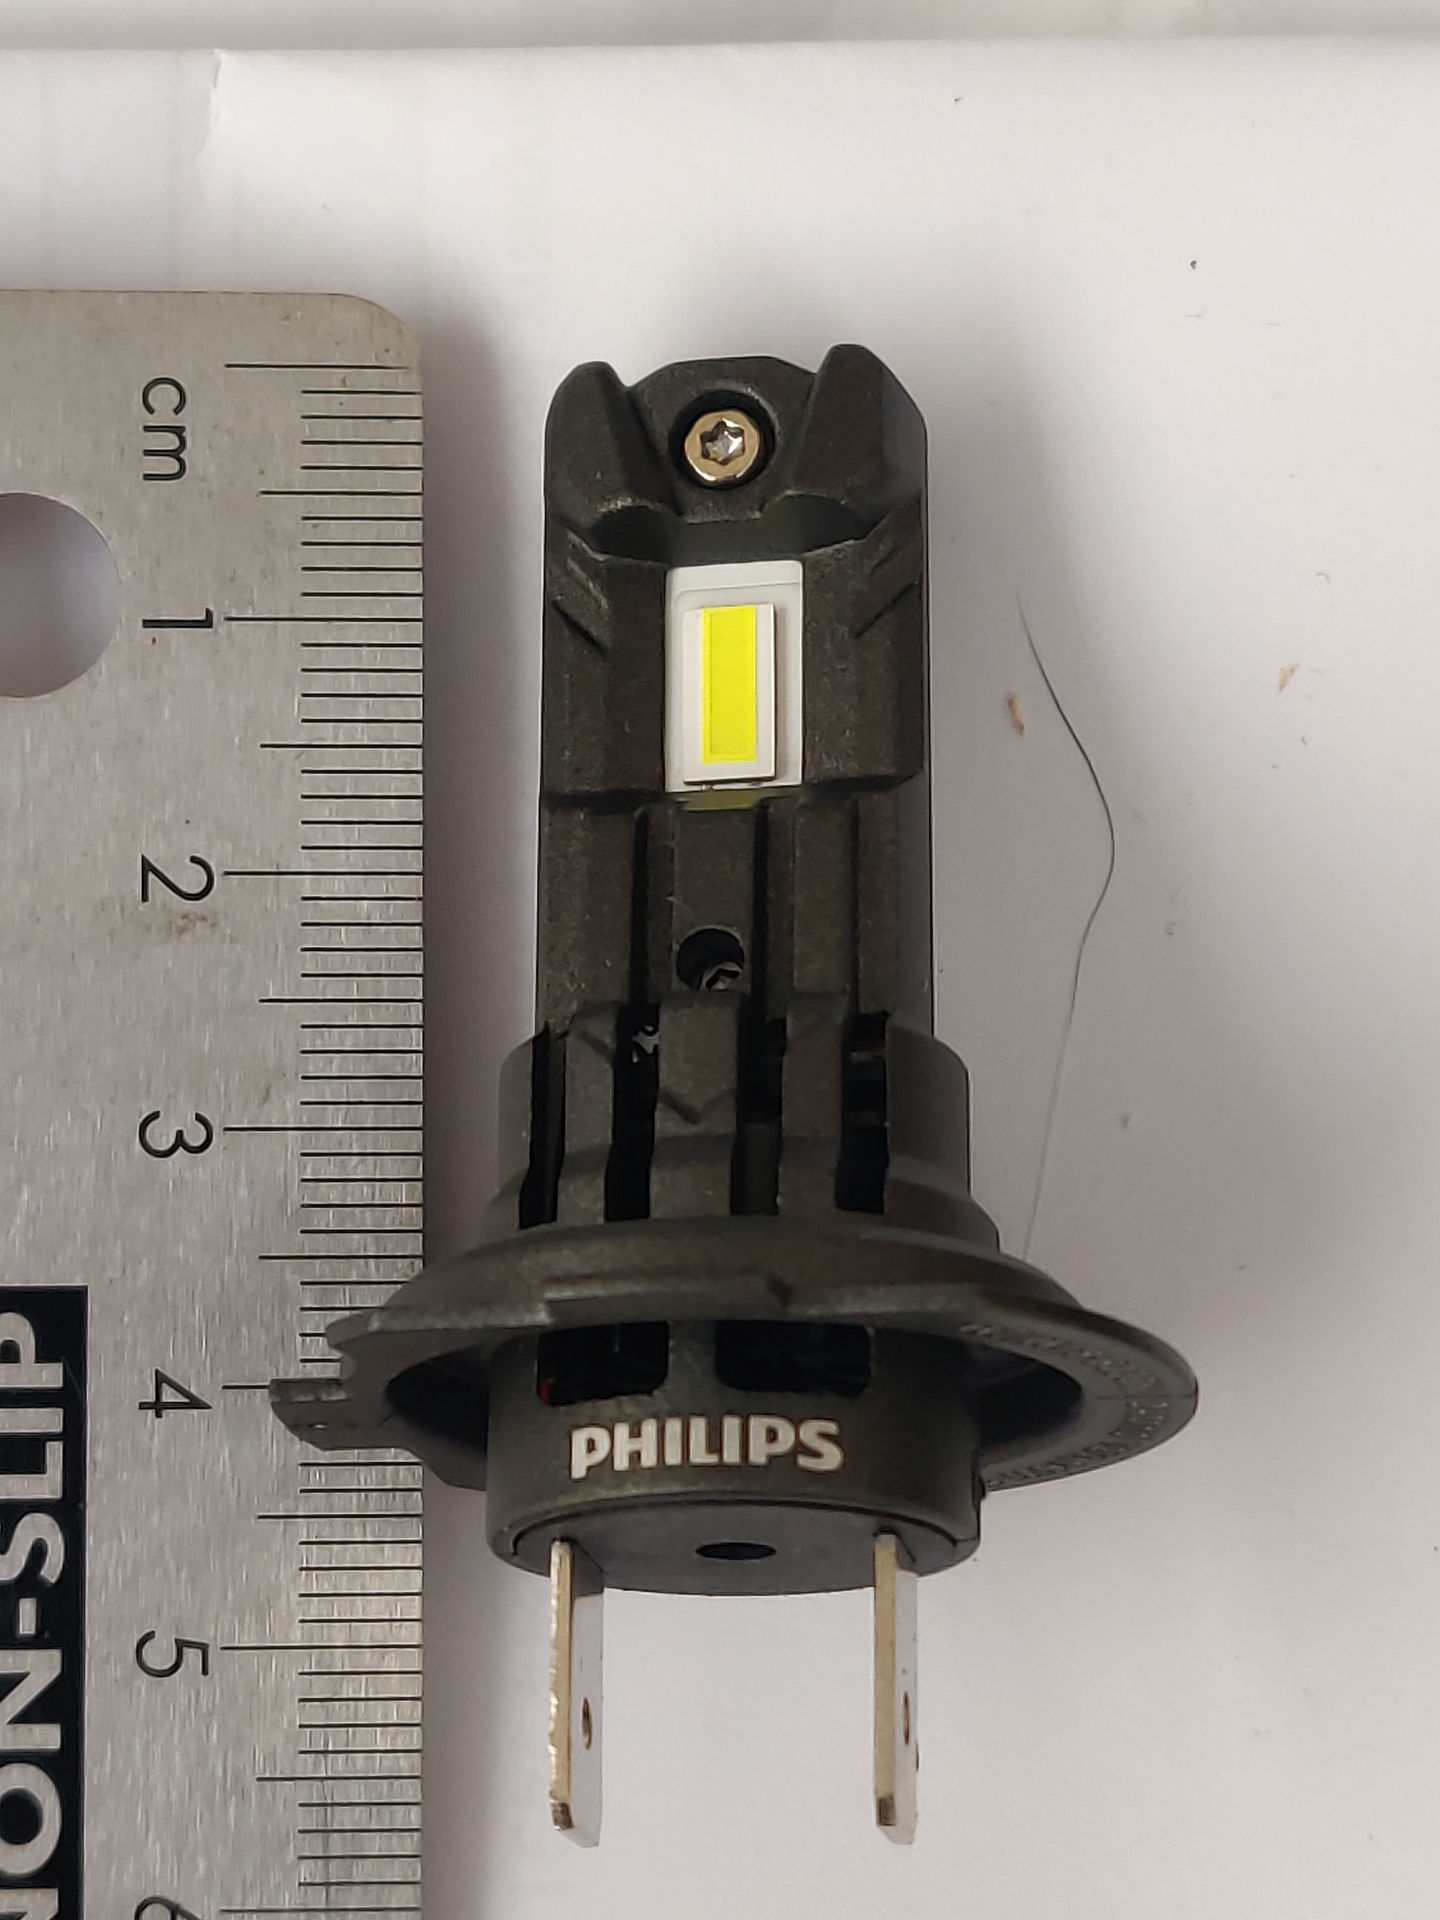
Philips Ultinon Access meets the dimensional criteria and as it's a reputable brand not an Ebay special I'm relying on it not to spray photons at the sky.
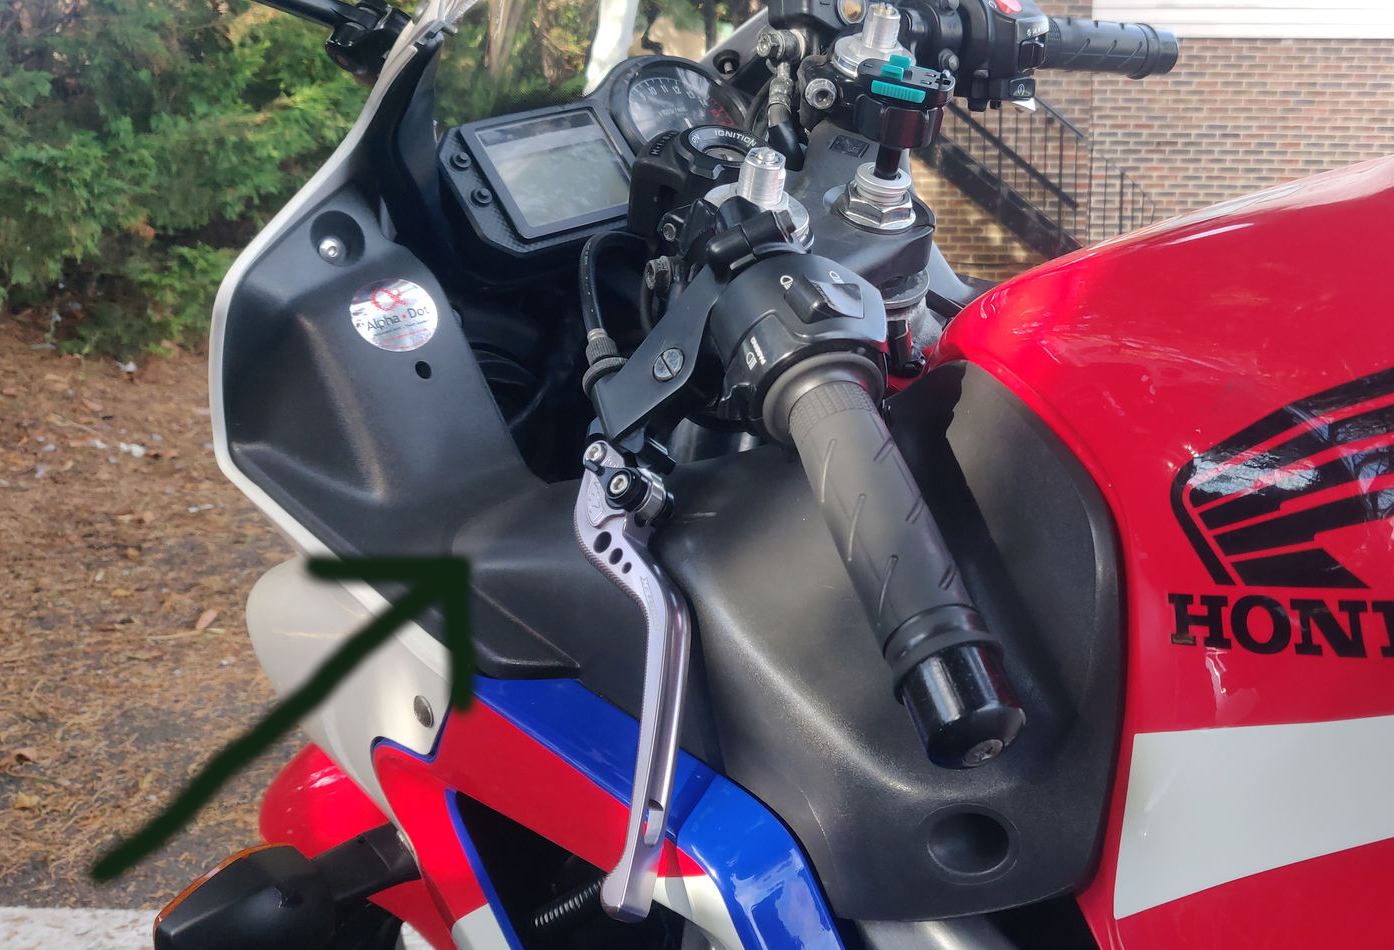
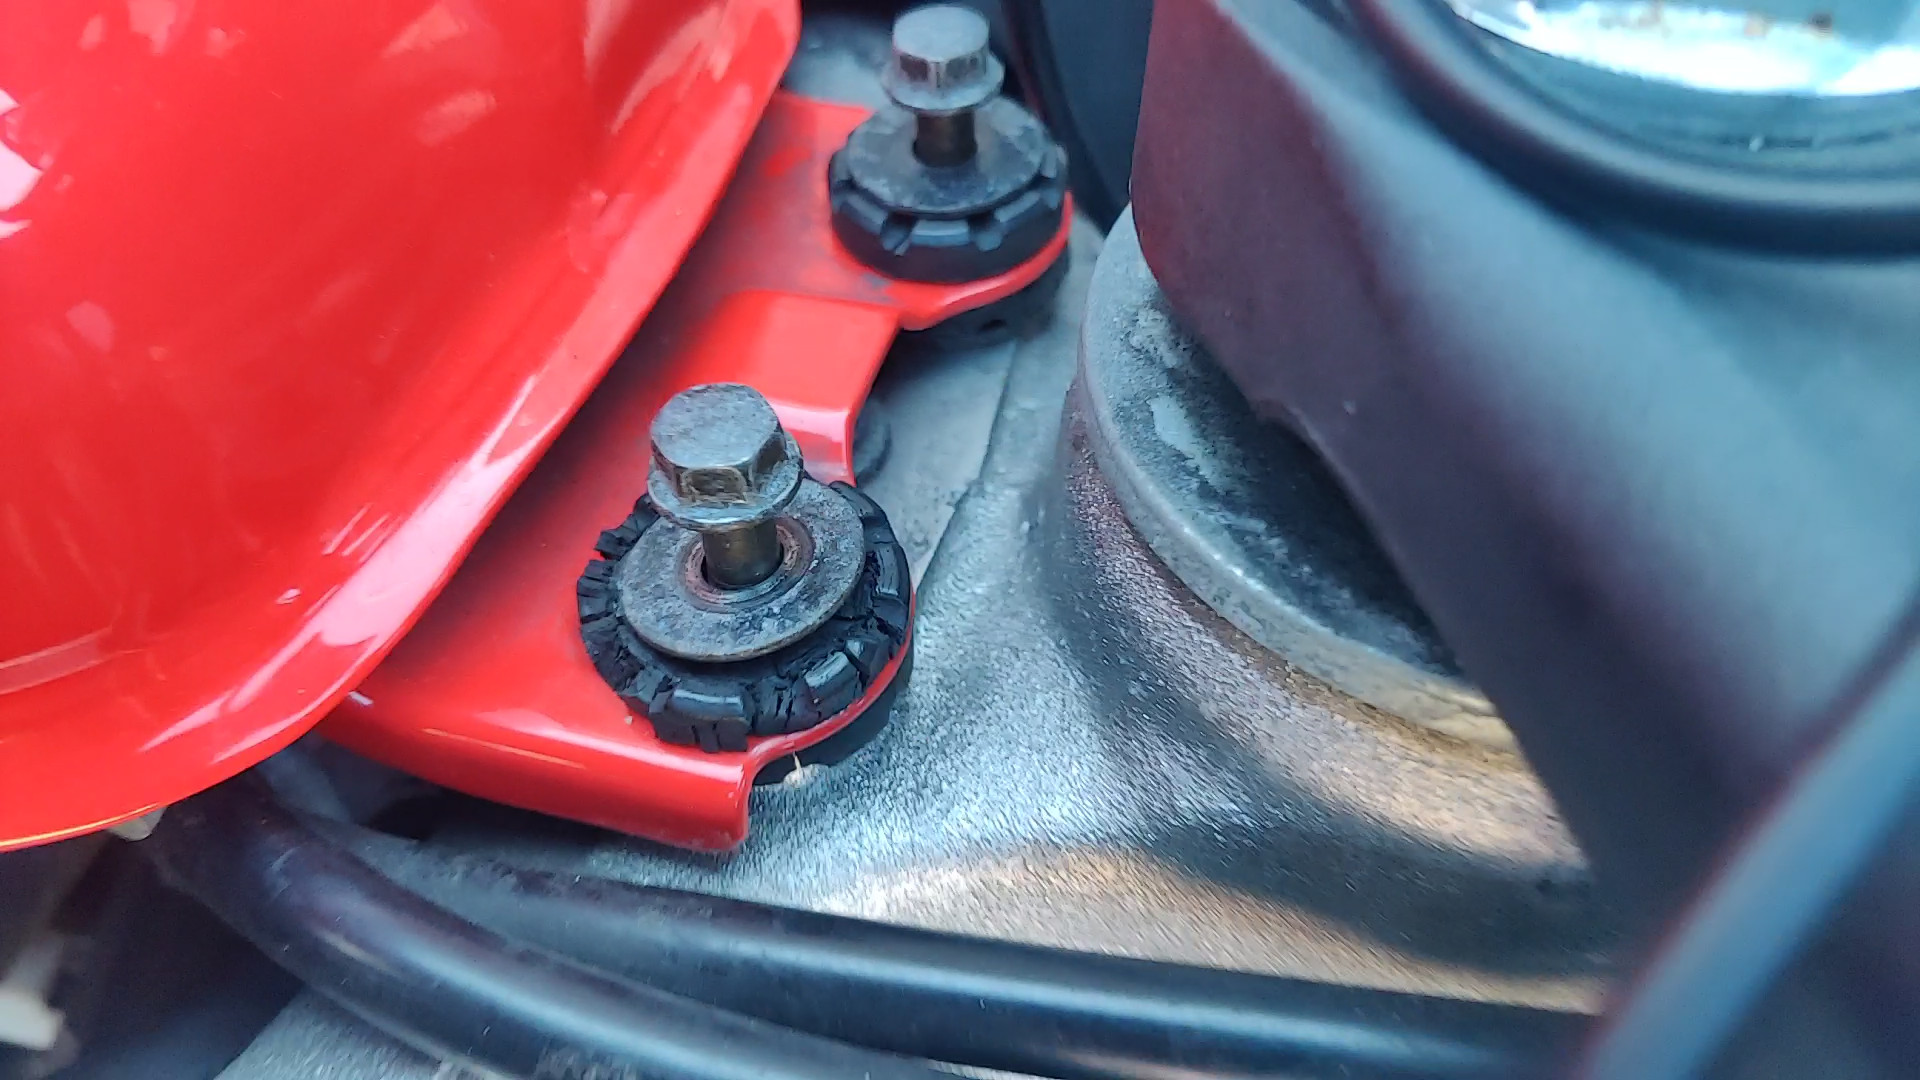 To get to the bulb: first, remove the grey plastic "armrest" thingy on each side: undo two bolts and then carefully manoeuvre and flex the three different bits of interlocking plastic that have prongs sticking into each other, until it comes away. I also slackened off the two bolts holding the front of the fuel tank so that I could lift it slightly.
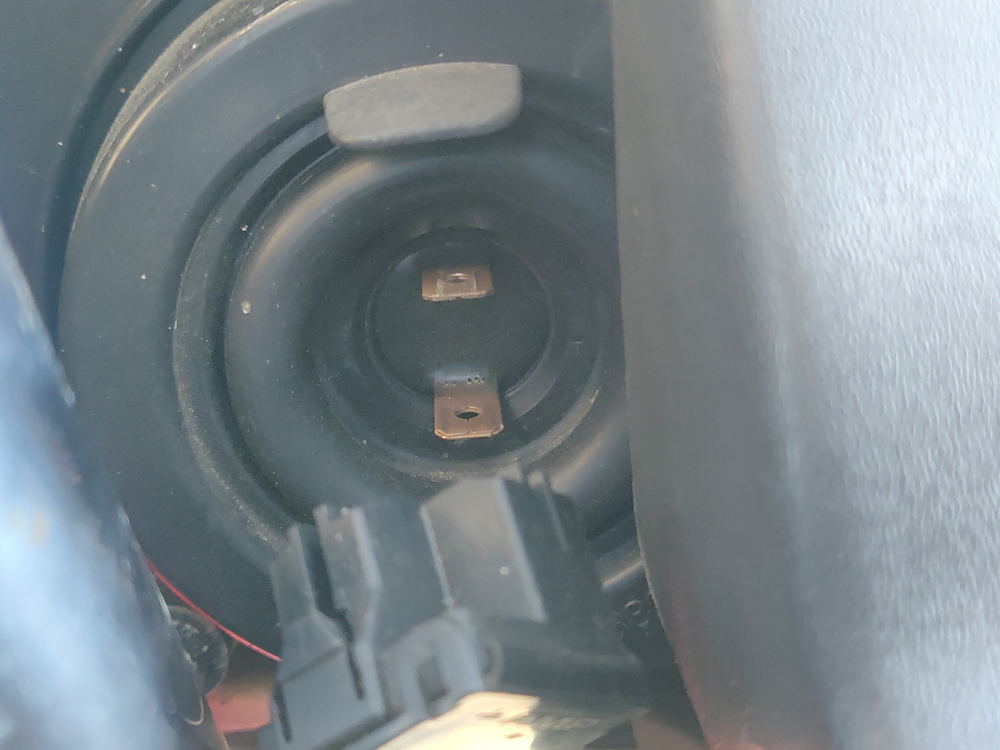
 The headlights are under the dash. The plug pulls off (no fancy release mechanism, just friction) and then the big rubber boot thing can also be pulled away.
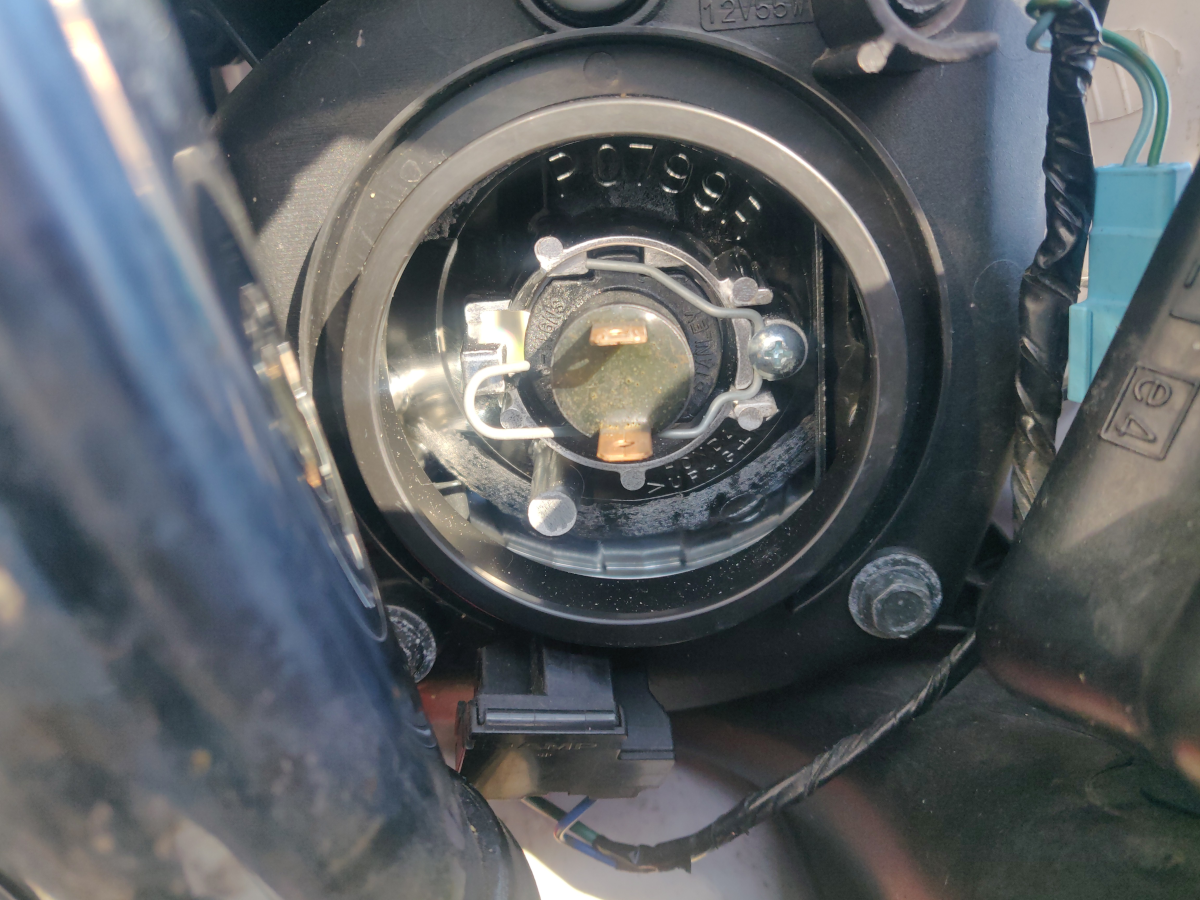
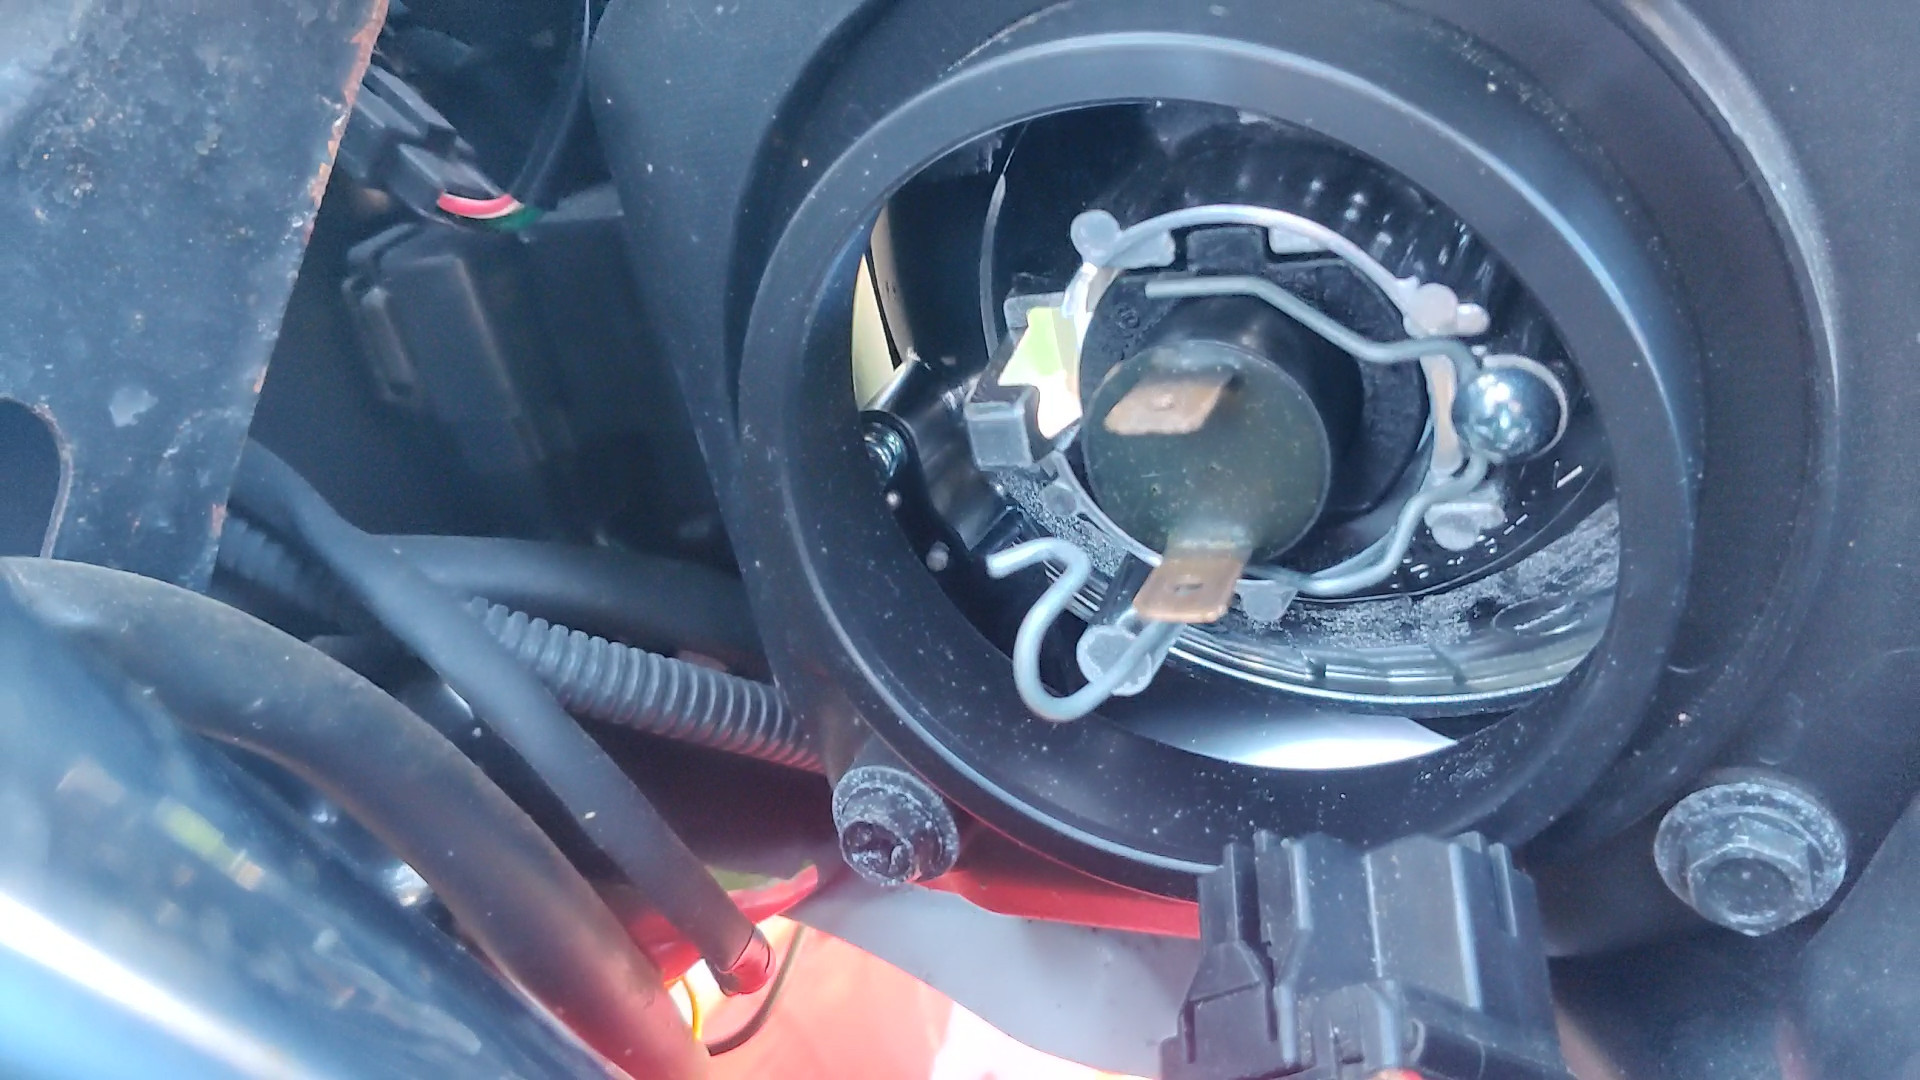 Now unhook the hinged wire retaining clip and it swings open rightwards.
These pictures show both closed and open states (although they are for
different lights and taken on different days: my continuity supervisor
is down the pub already)
Now unhook the hinged wire retaining clip and it swings open rightwards.
These pictures show both closed and open states (although they are for
different lights and taken on different days: my continuity supervisor
is down the pub already)
Now the bulb should just come out. Don't get your fingers on the glass parts of a filament bulb, not if you're going to keep it.
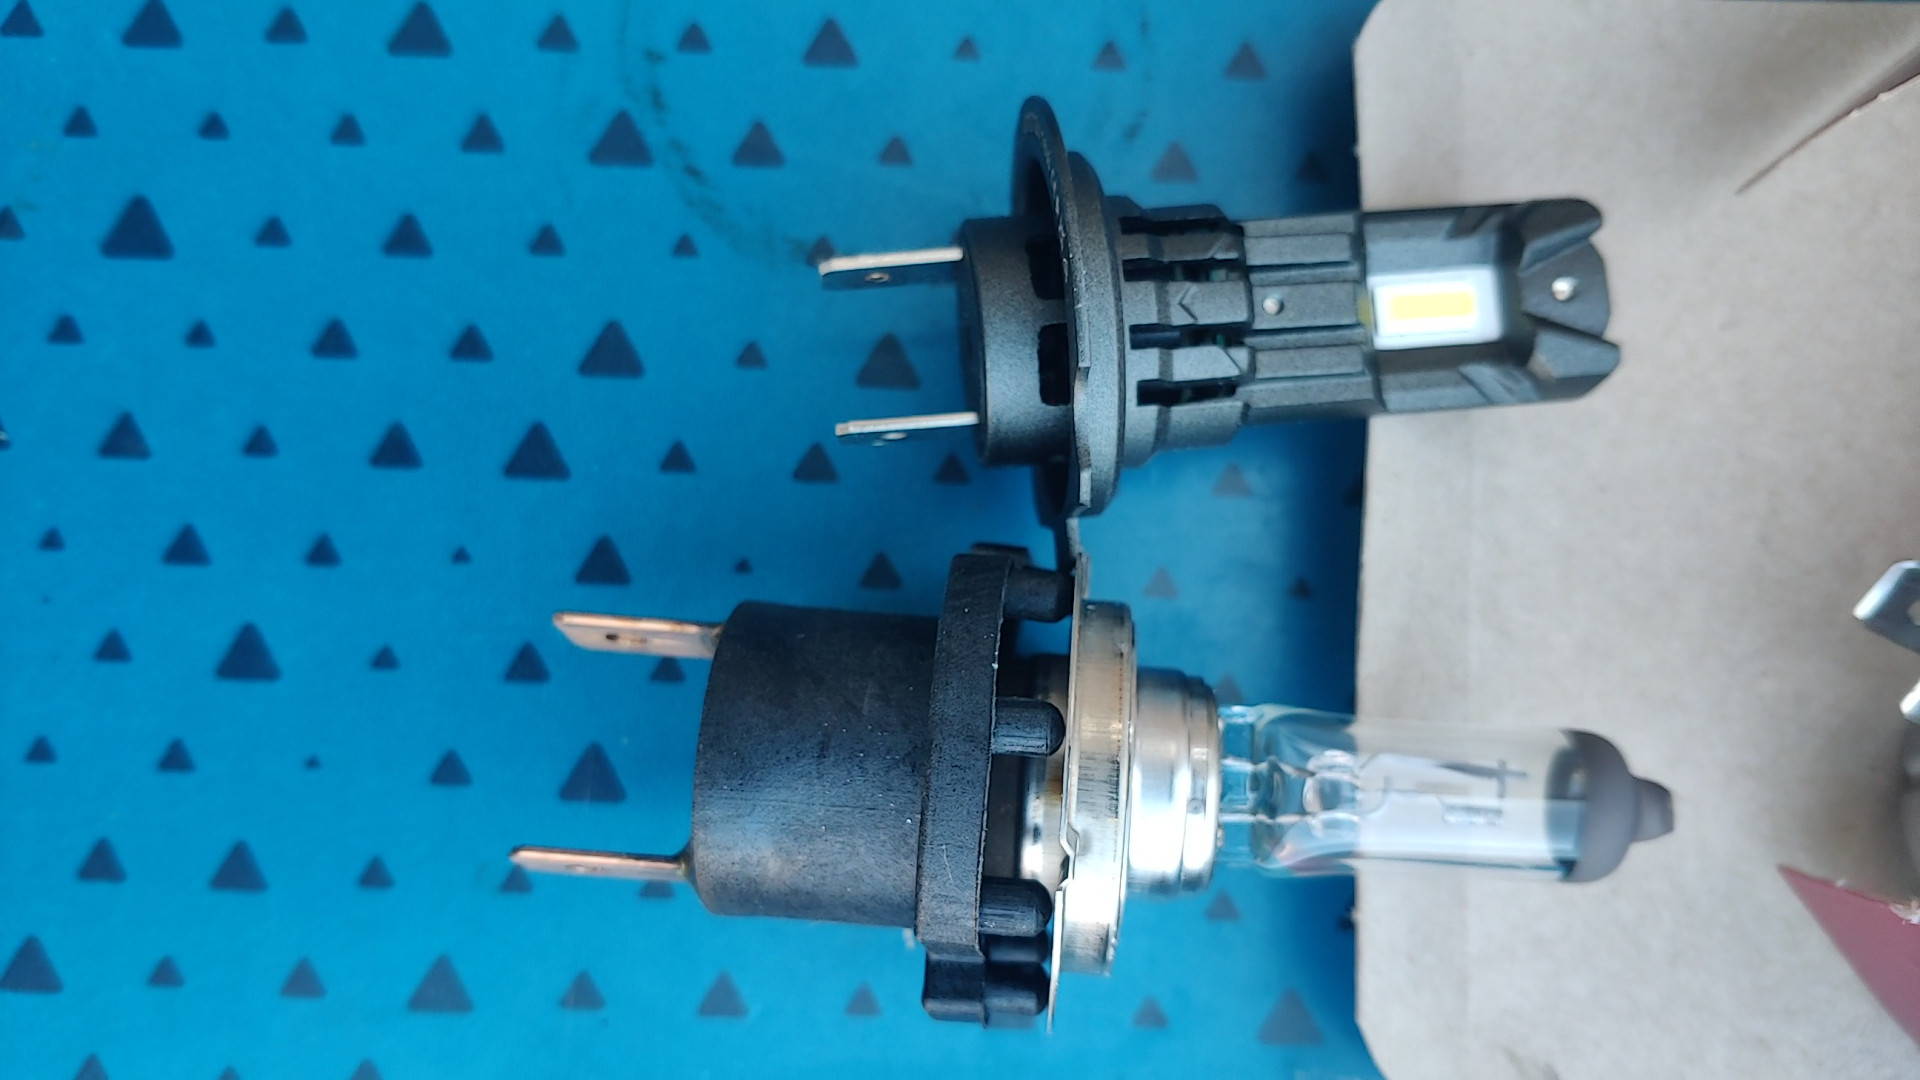
 Here is where I reached for the new bulb and realised that the base of
the old one was apparently bigger. Turns out that the bulb plugs
into an adapter thing, so we take the two parts apart by pulling them (again, no clips or catches just an interference fit)
and push the new bulb into the adapter instead.
Here is where I reached for the new bulb and realised that the base of
the old one was apparently bigger. Turns out that the bulb plugs
into an adapter thing, so we take the two parts apart by pulling them (again, no clips or catches just an interference fit)
and push the new bulb into the adapter instead.
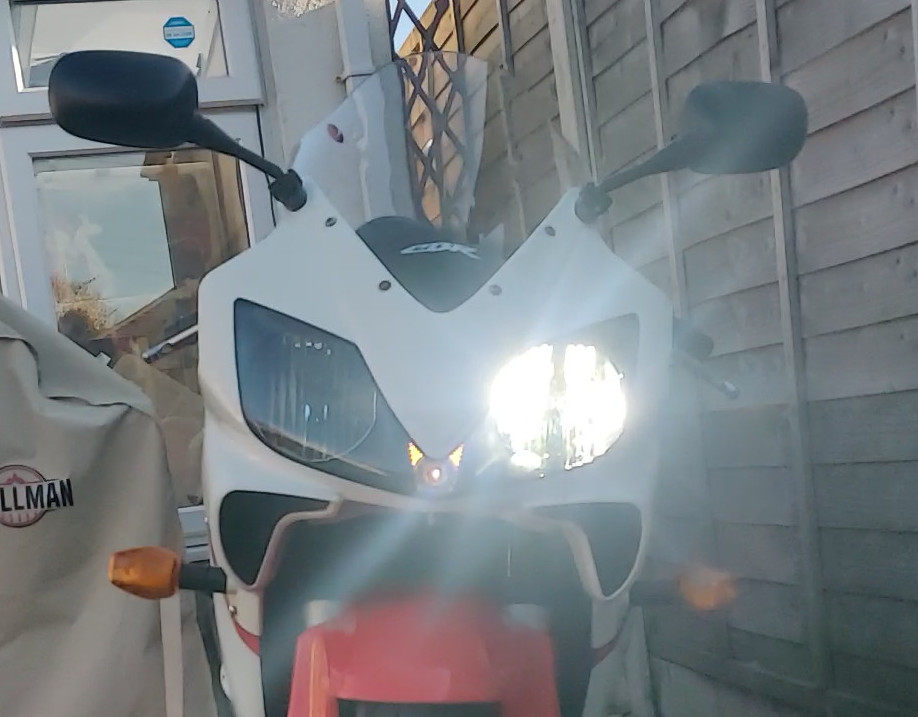
 Reassembly is, to coin a phrase, the reverse of disassembly. Taking phonecam photos of a light source is probably pretty pointless - during daytime, likely doubly pointless - because of auto exposure, but I did it anyway. The dipped beam only turns one light on (this is normal) and the full beam seems to be very very bright, but maybe that's full beam doing what full beam does.
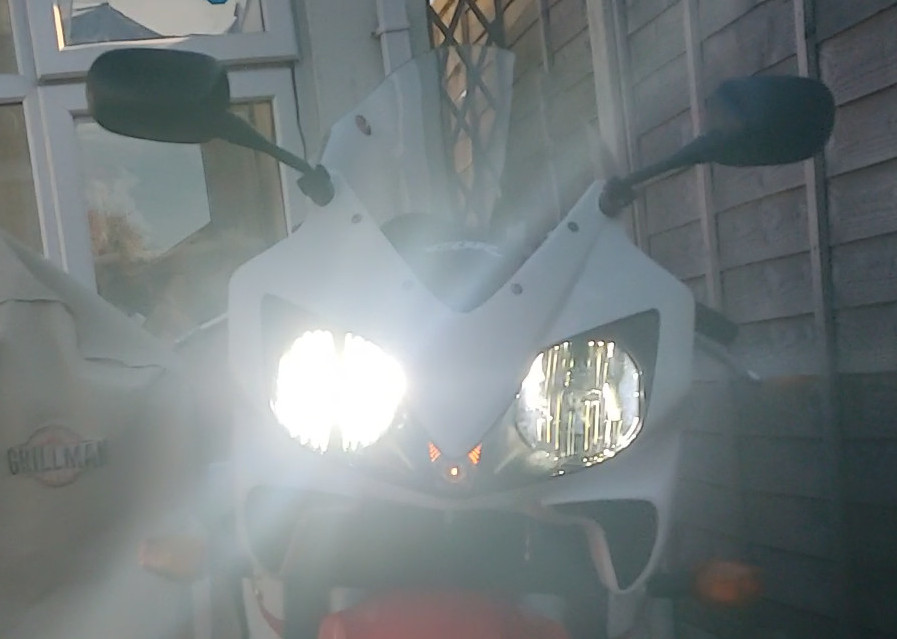
 A better test was conducted after night fell, but my phone decided to take the "before" and "after" photos with different exposure settings (and it's not even as dark in the first one) and I'm buggered if I'm replacing the old bulbs in the dark for a side-by-side comparison. If it looks brighter even though there's more ambient light, that's good right? (Science r us)
The cutoff does seem to be a bit higher with the LEDs - unless the angle is different and I'm looking at the kickup there (UK roads, we drive on the left). Looks like I'll have to measure that properly and maybe adjust it