tl;dr I thought there was was going to be some Rust in Liminix, but it
turns out there isn't. I'm not opposed to adding it, but the
application I thought I had for it turns out to be better done in C
I'd better eludicate. I decided, way back in whenever-it-was, that
Fennel would be the go-to "scripting" language for anything in Liminix
too complicated to want to write it in ash-compatible sh - and as my
criterion for "too complicated" is more than about ten lines long,
that's quite a lot of Fennel. The Fennel is translated to Lua at build
time and interpreted by the lua command at runtime. So we start many
Lua VMs and in most of them we load anoia.lua
and lualinux.so which together provide functionality that pretty
much every such script requires.
I thought it would be a useful optimisation to have a server that
spawns prewarmed Lua VMs on demand. I should say upfront that this is
premature optimisation in its purest form as I haven't even measured
how long these things take to load.
So what it does is start a lua interpreter and listen on a socket. On
each incoming conection it reads the name of a lua script and accepts
file descriptors for stdin/stdout/stderr as ancillary
data. It
forks, and run the script in the child so its state does not change
the state of the parent. I'm pretty sure I've seen this pattern a
bunch of times (something KDE did back in the day, Ruby snailgun gem)
but I can't now find a good reference describing it or naming it, so
if you haven't seen it before maybe I dreamt it. It's not "preforking"
because there's no pool of children - they're forked on connect.
And the reason I wrote it without first finding out of it'd be useful
is it seemed like an excuse to try using Rust again.
What I found:
embedding a Lua interpreter into Rust is made entirely painless by
the mlua crate
getting ancillary data on a unix socket requires using the
recv_vectored_with_ancillary_from method, which needs Rust
nightly. This is kind of understandable as the necessary kernel
support has only been present since 1996
when it comes to systems programming, there are many ways to do the
same thing and it doesn't seem like much consensus. Web searching
for "rust fork" led me to the fork crate, so I added that. But it
doesn't include any wait() or waitpid() interface so I added
that from the nix crate, and then I also wanted to call poll()
so I did that with the libc crate. With hindsight I should have
used libc for everything - the only value-add of the
rust crates (for this application) seems to be that it wraps C's
magic 0, n, -1 sentinel values in fancy enums so you can write
match clauses like Ok(Fork::Parent(pid)) instead of pid > 0
I found a way to do signal handling (I needed to catch SIGCHLD), but
only by blindly copying code I didn't understand from the
internet. (N.B. this is acceptable in in 2026, it's the same process
as LLM-assisted programming except without boiling the ocean).
There's extern "C" and unsafe and libc::signal(libc::SIGCHLD, handle_sigchld as *const () as libc::sighandler_t) which frankly
doesn't (and shouldn't) inspire confidence.
The surprisingly simple bit was incorporating it into Liminix. I added
my package to overlay.nix and ran nix-build and voila, a MIPS
binary. I was expecting to have to swear a bit more than that.
However, I'm not going to do it, because the binary is huge. After
stripping it, replacing the fork and nix crate dependencies with
direct libc calls, and then following this handy guide to reducing
binary size I've got it
from somewhere north of 800k to around 415k, but that's still a significant chunk
of a 16MB flash filesystem. When I wrote the equivalent program in C
for comparison it's about 20k. Yes, both are linked dynamically
against libc and liblua.
So, the outcome of the experiment is I have no current plans to add
Rust to Liminix. But if it ever turns out that we do need to, at least
we know it's possible.
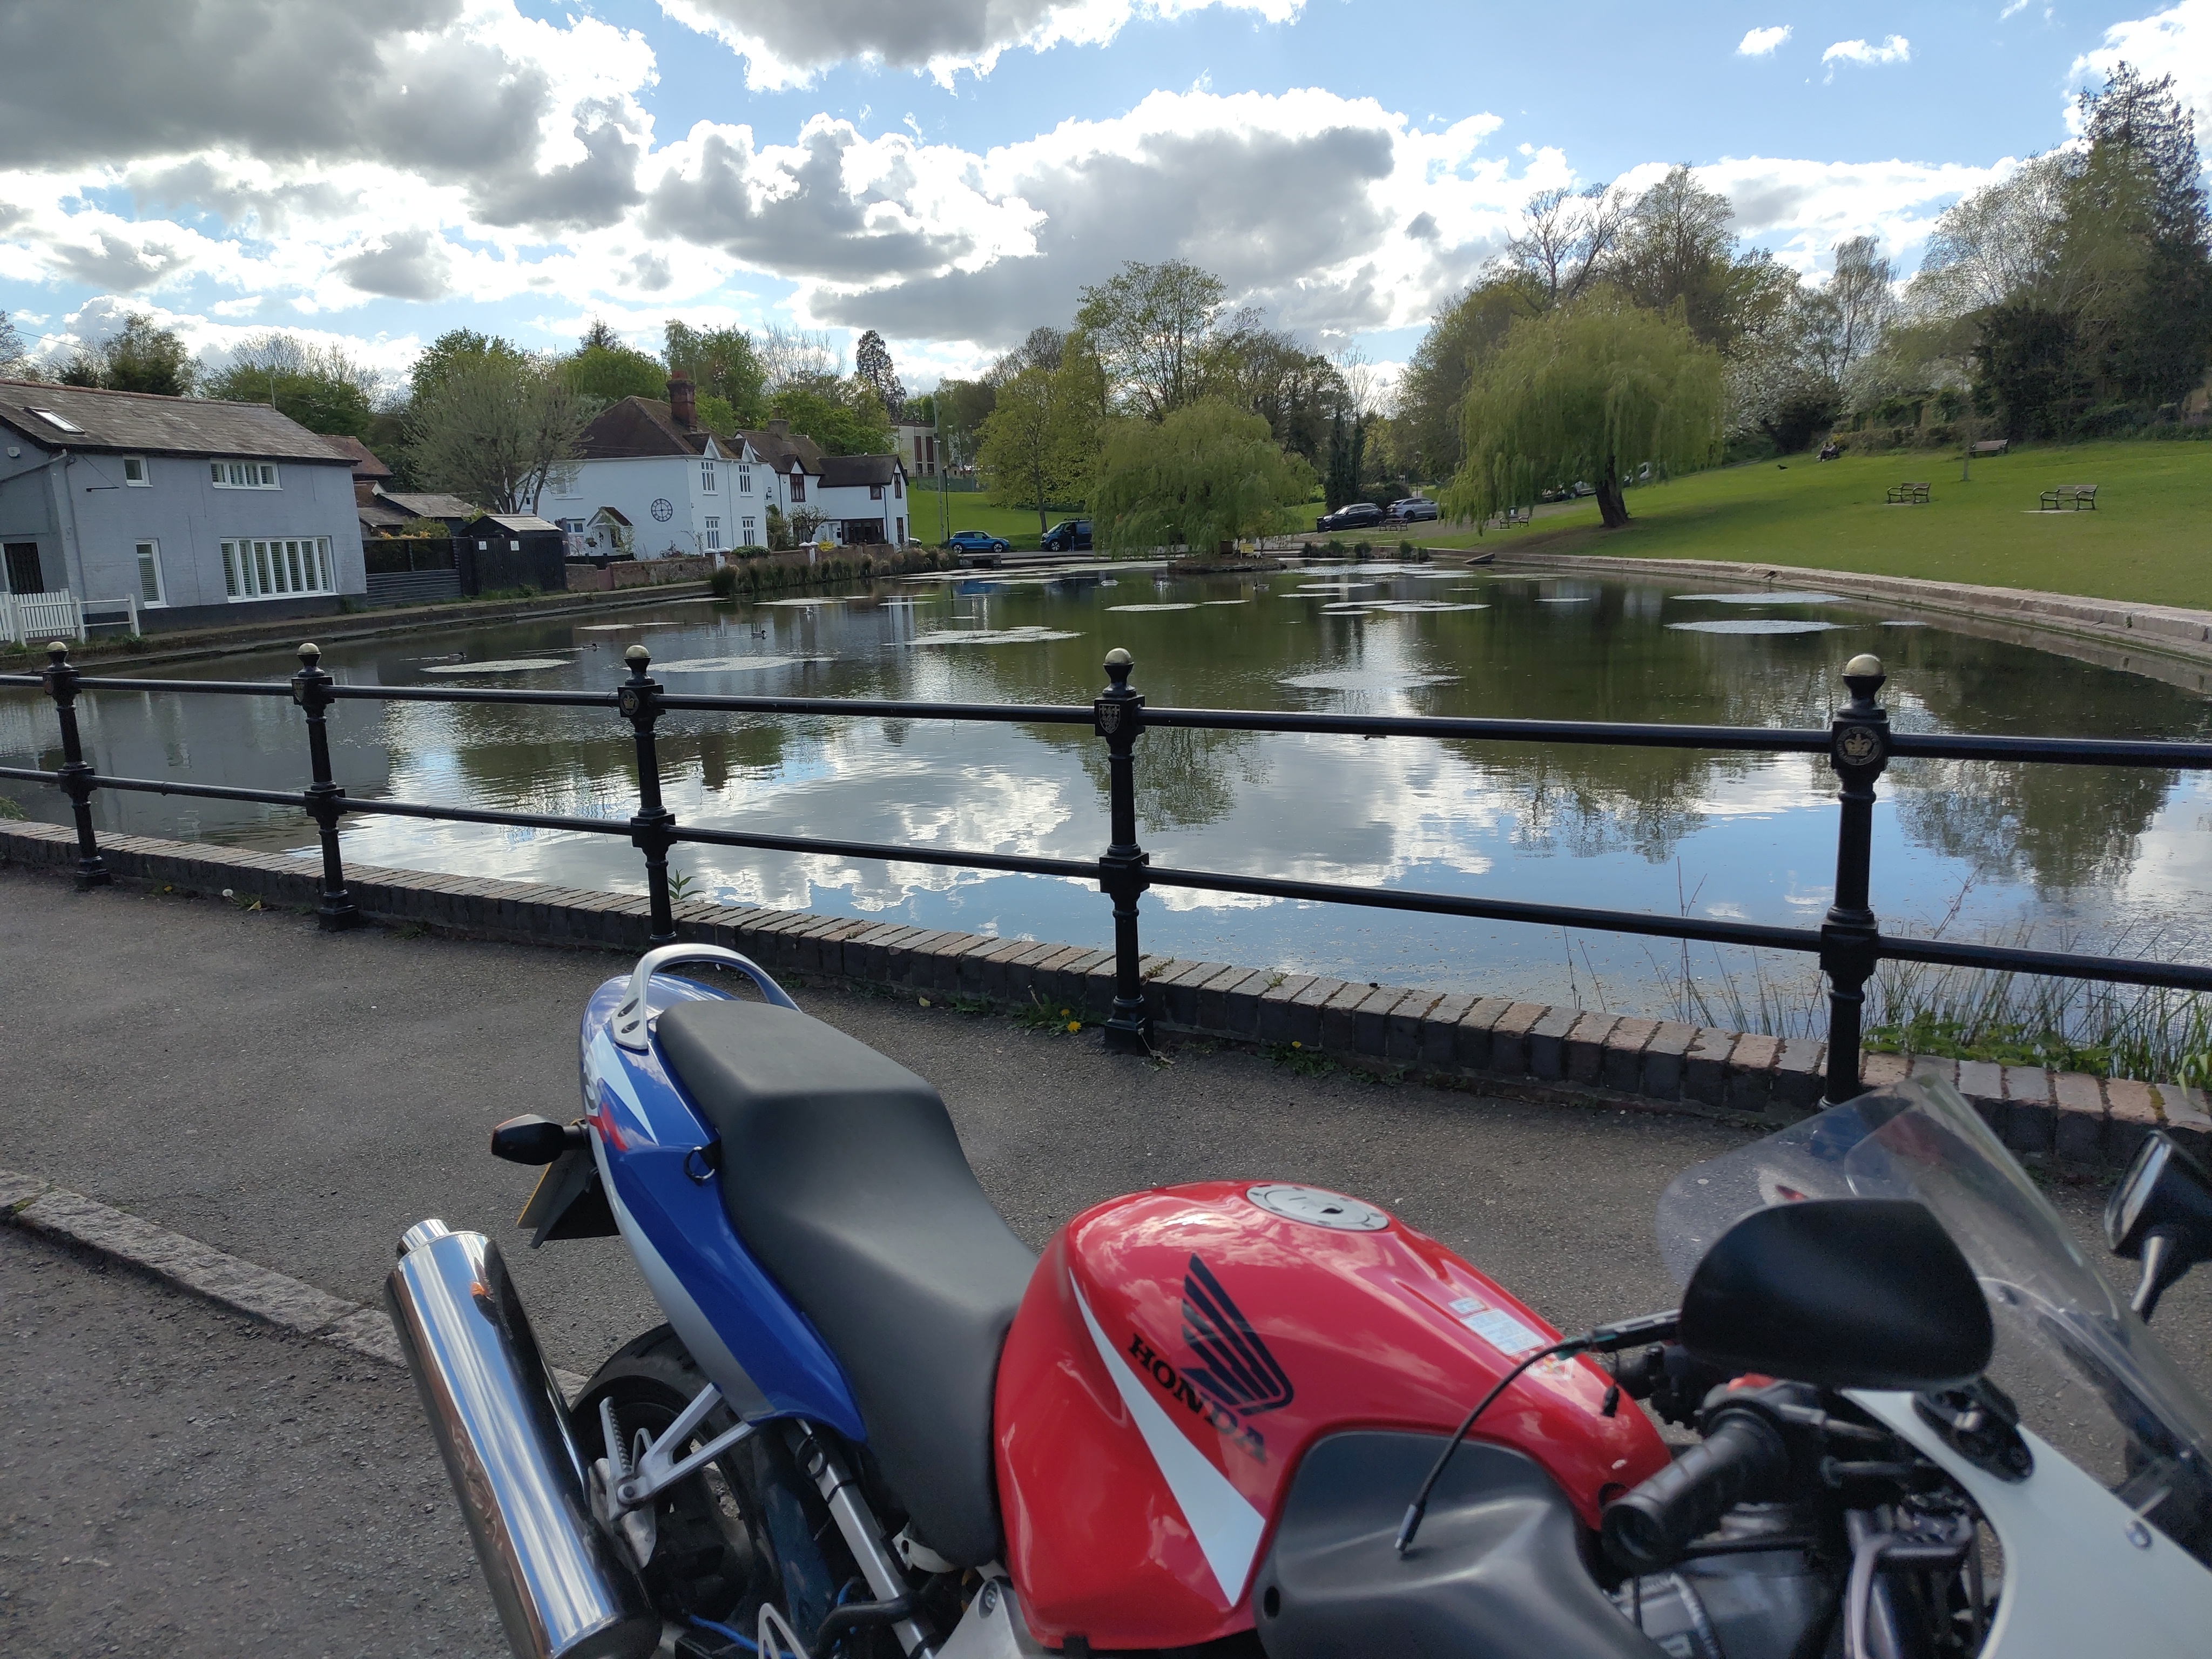
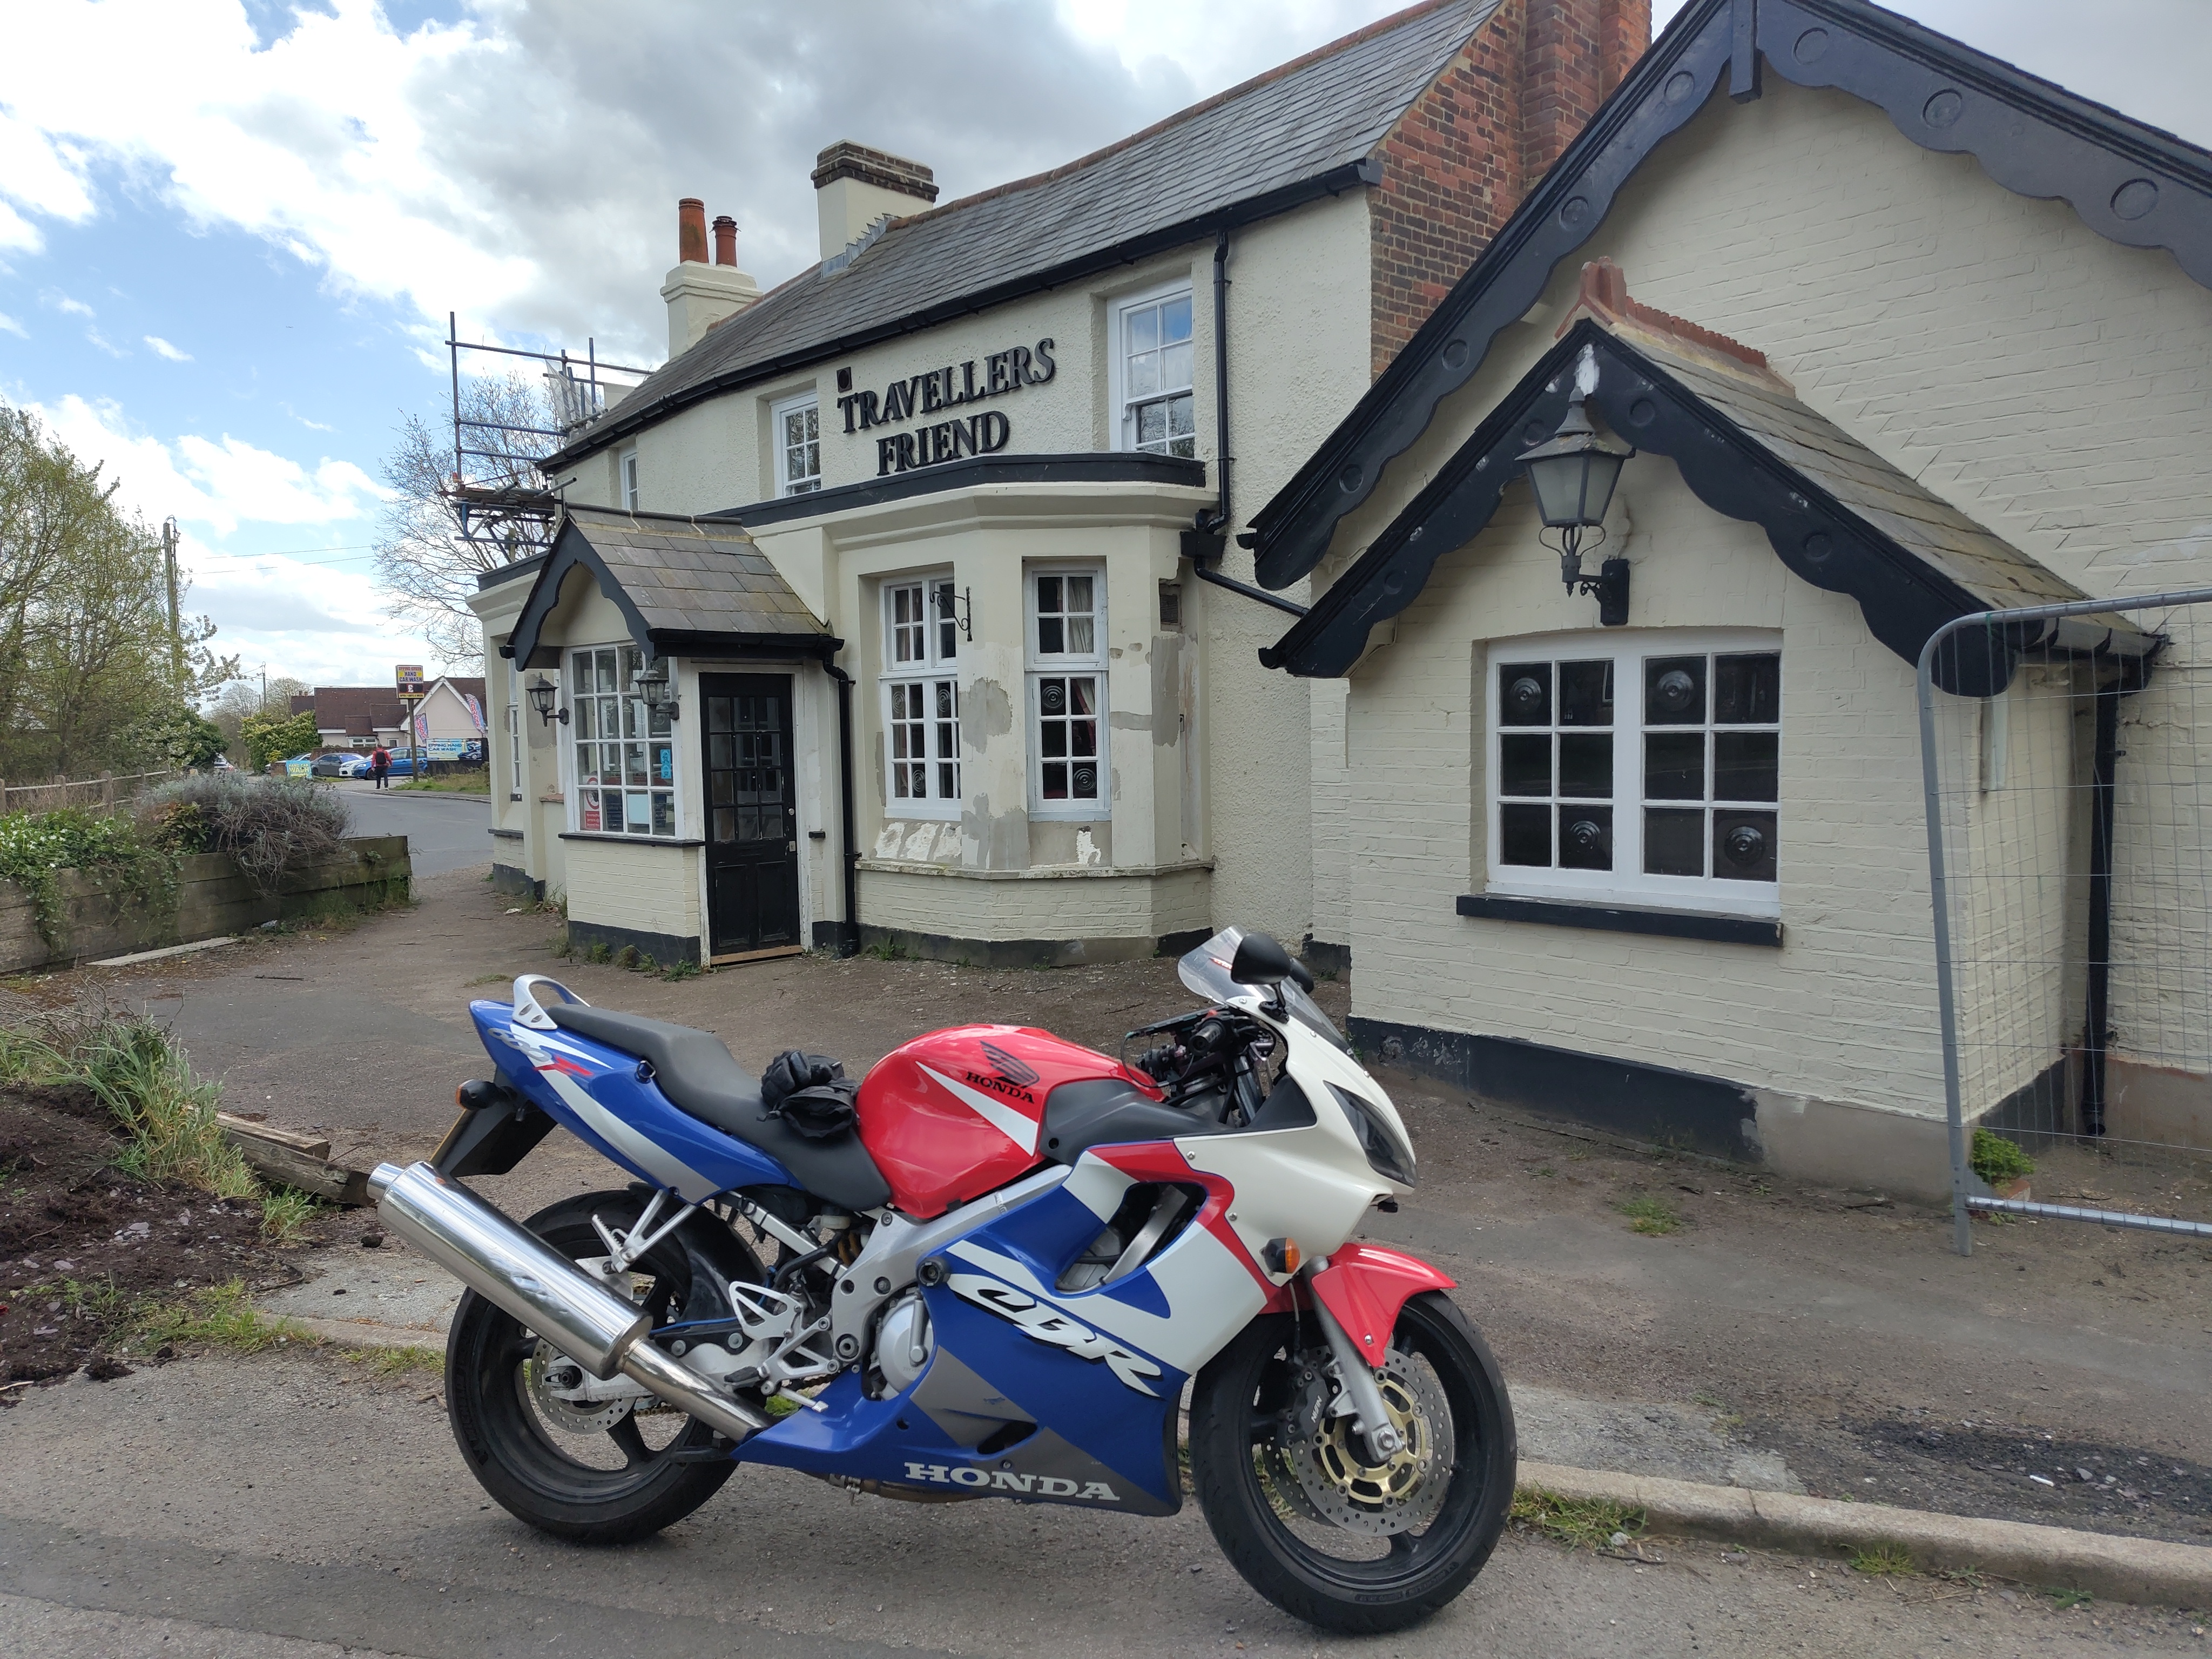
My wife says my motorbike is a mid-life crisis thing. I don't agree,
but (very reluctantly) concede that I'm easily old enough for one, and
one consequence of that is presbyopia. So, last week I ordered
varifocals (the presbyopia accompanies the myopia I've had since I was
about 11). I picked them up on Friday and was getting stabbing pains
in one eye on Saturday morning - by all accounts they
take time to get used to and
apparently this is to be expected - so I was in two minds about riding
anywhere that afternoon. But I did, and it worked out OK (actually,
they've been less trouble for riding than in a bunch of other
situations).
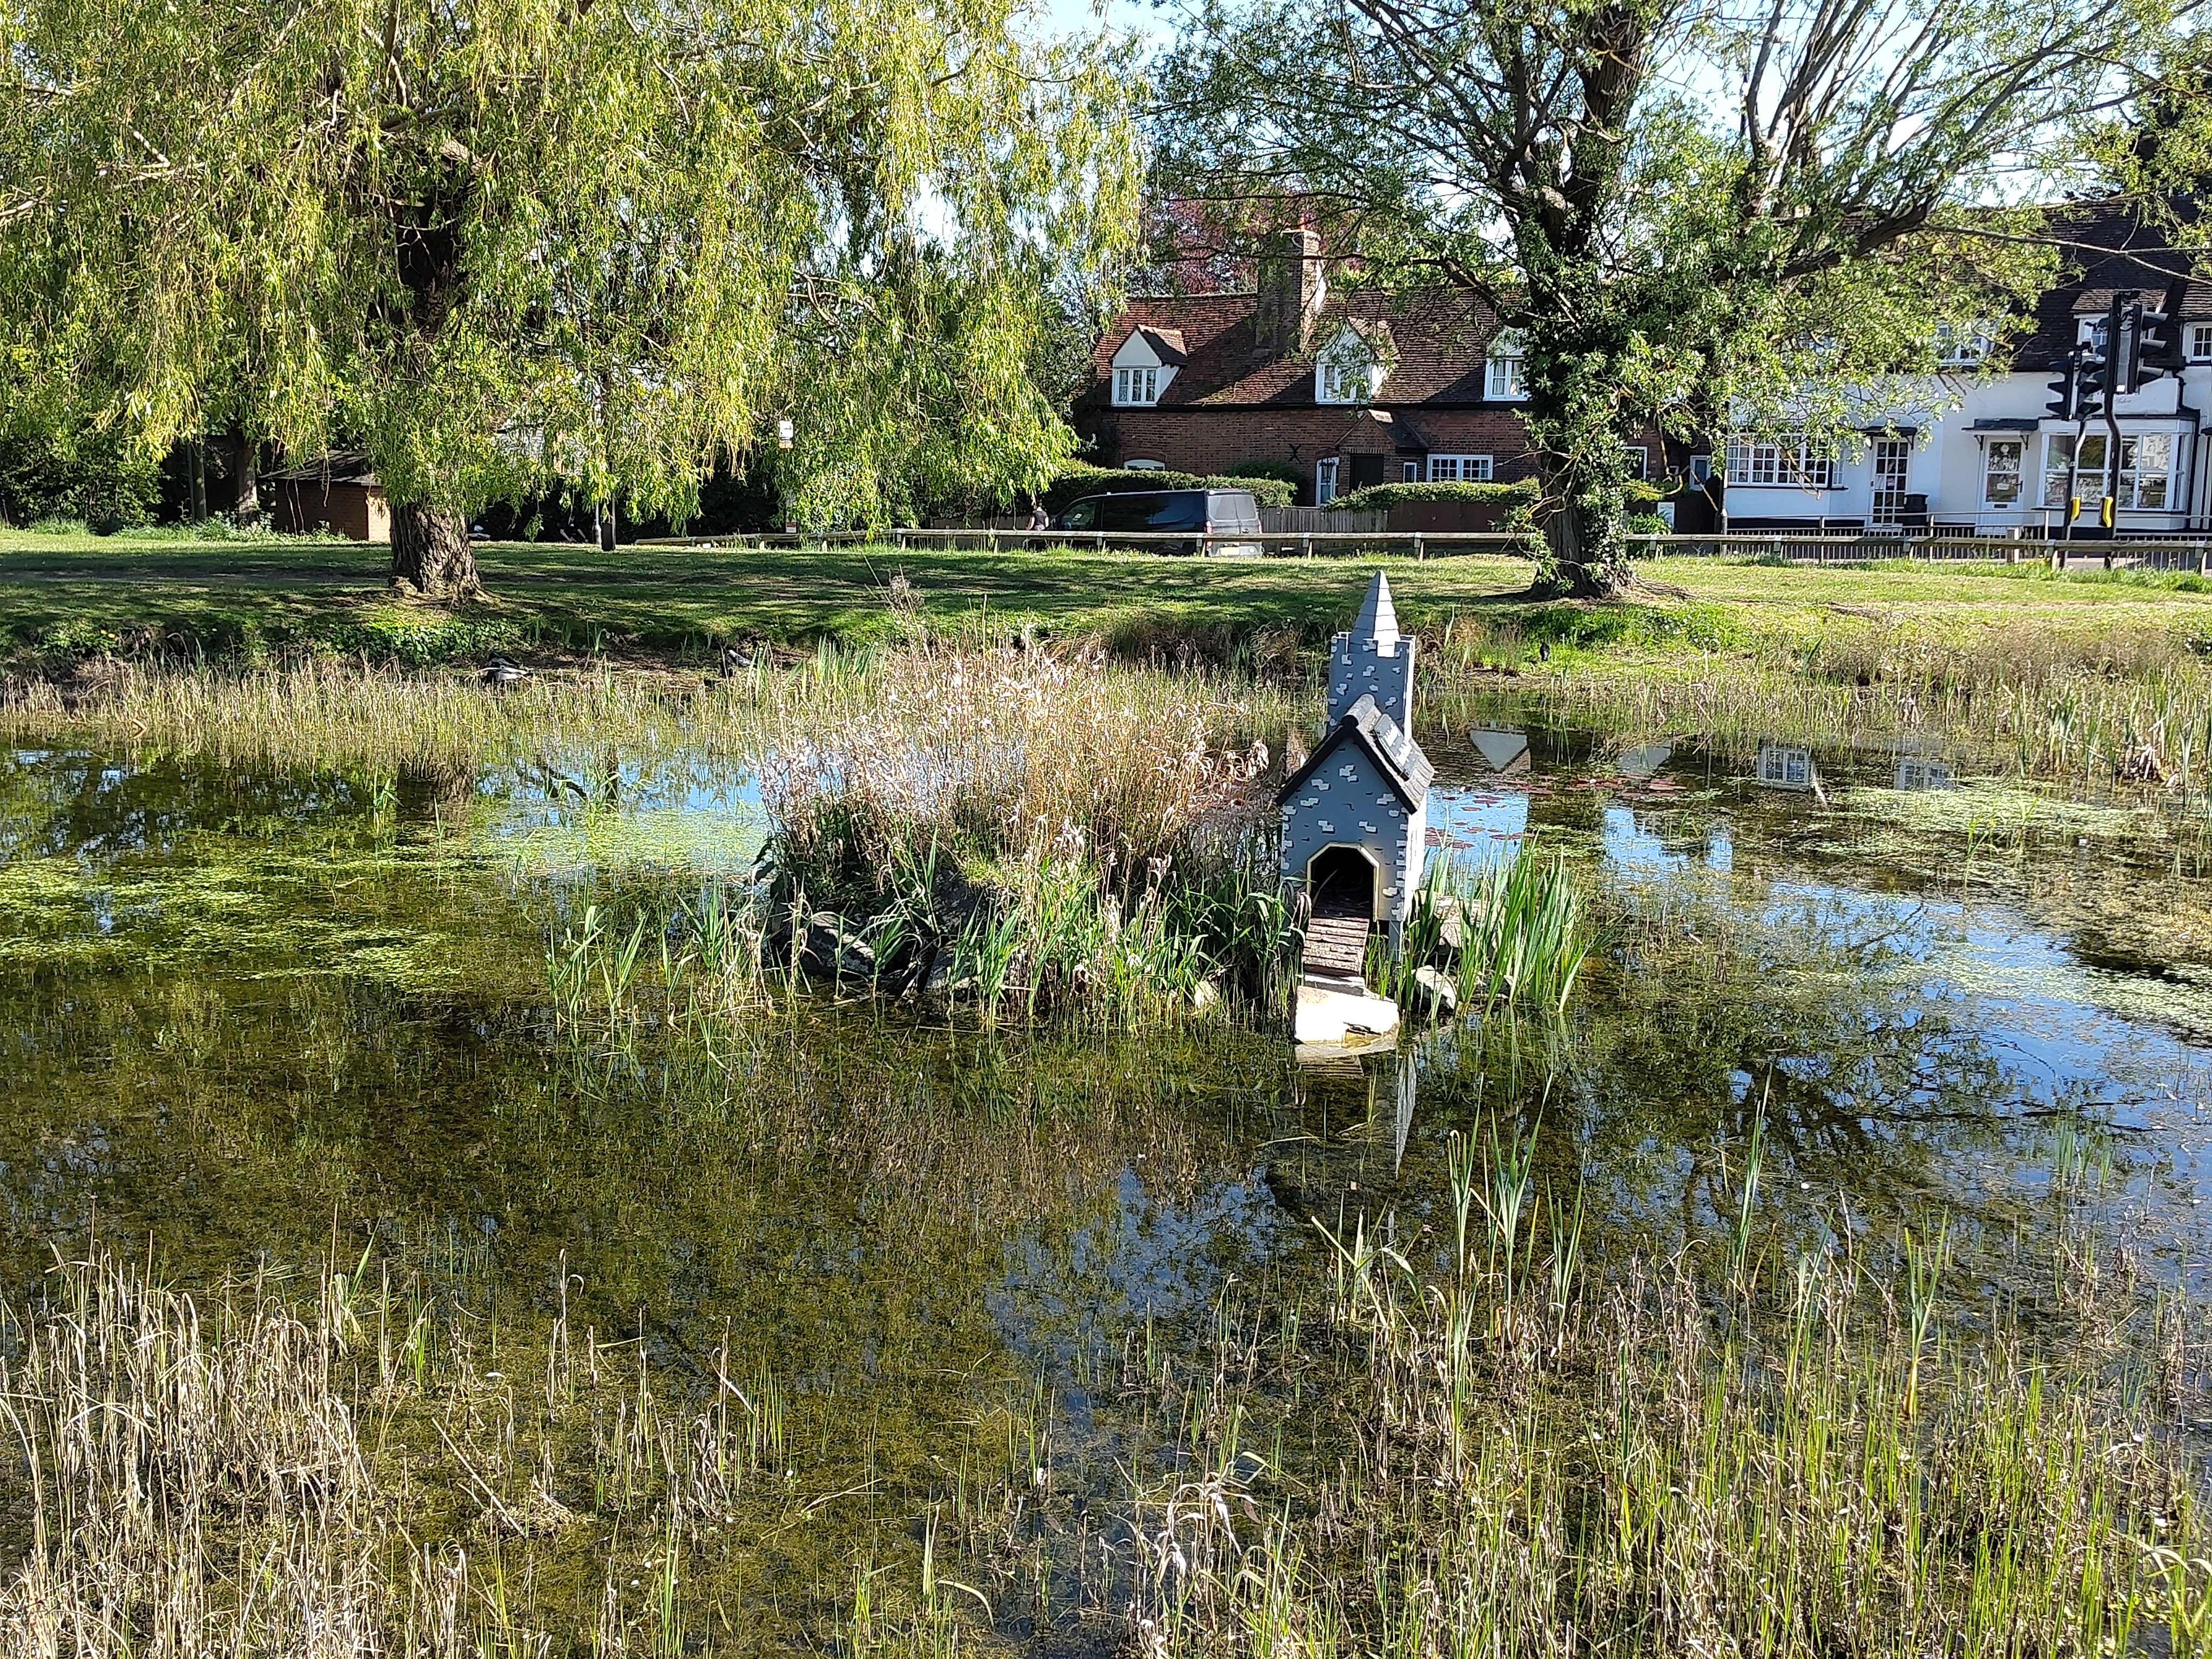
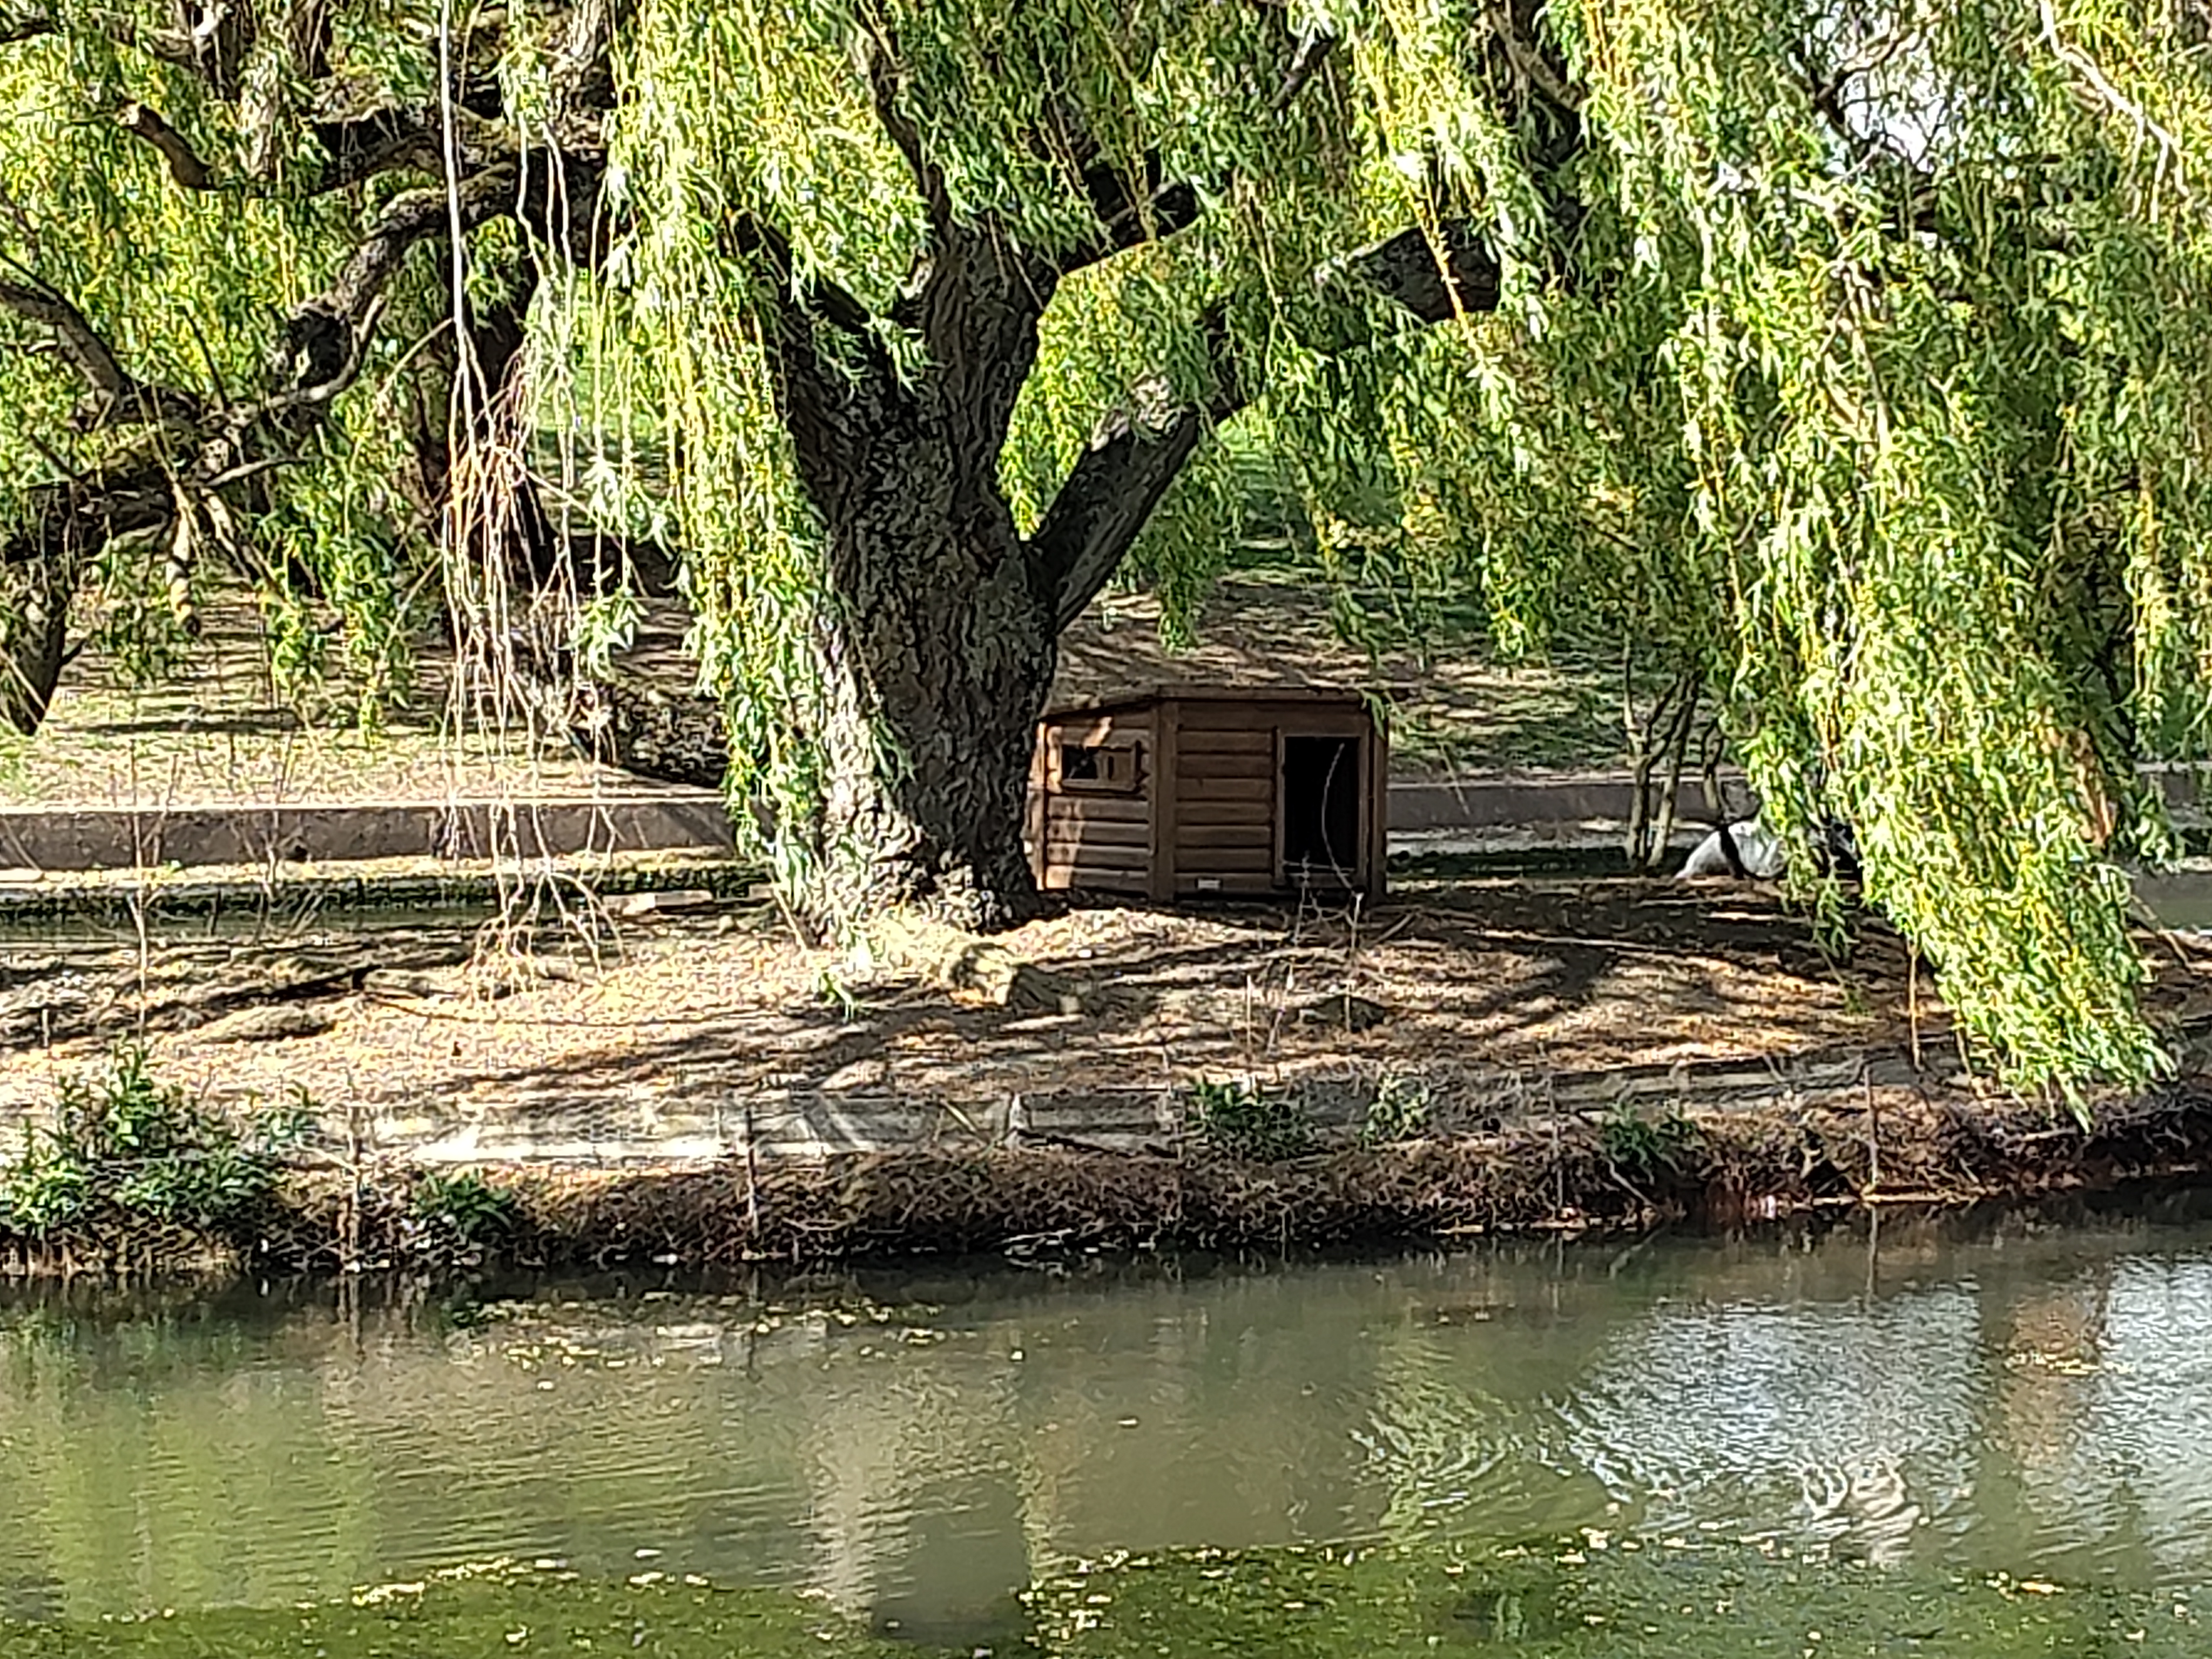
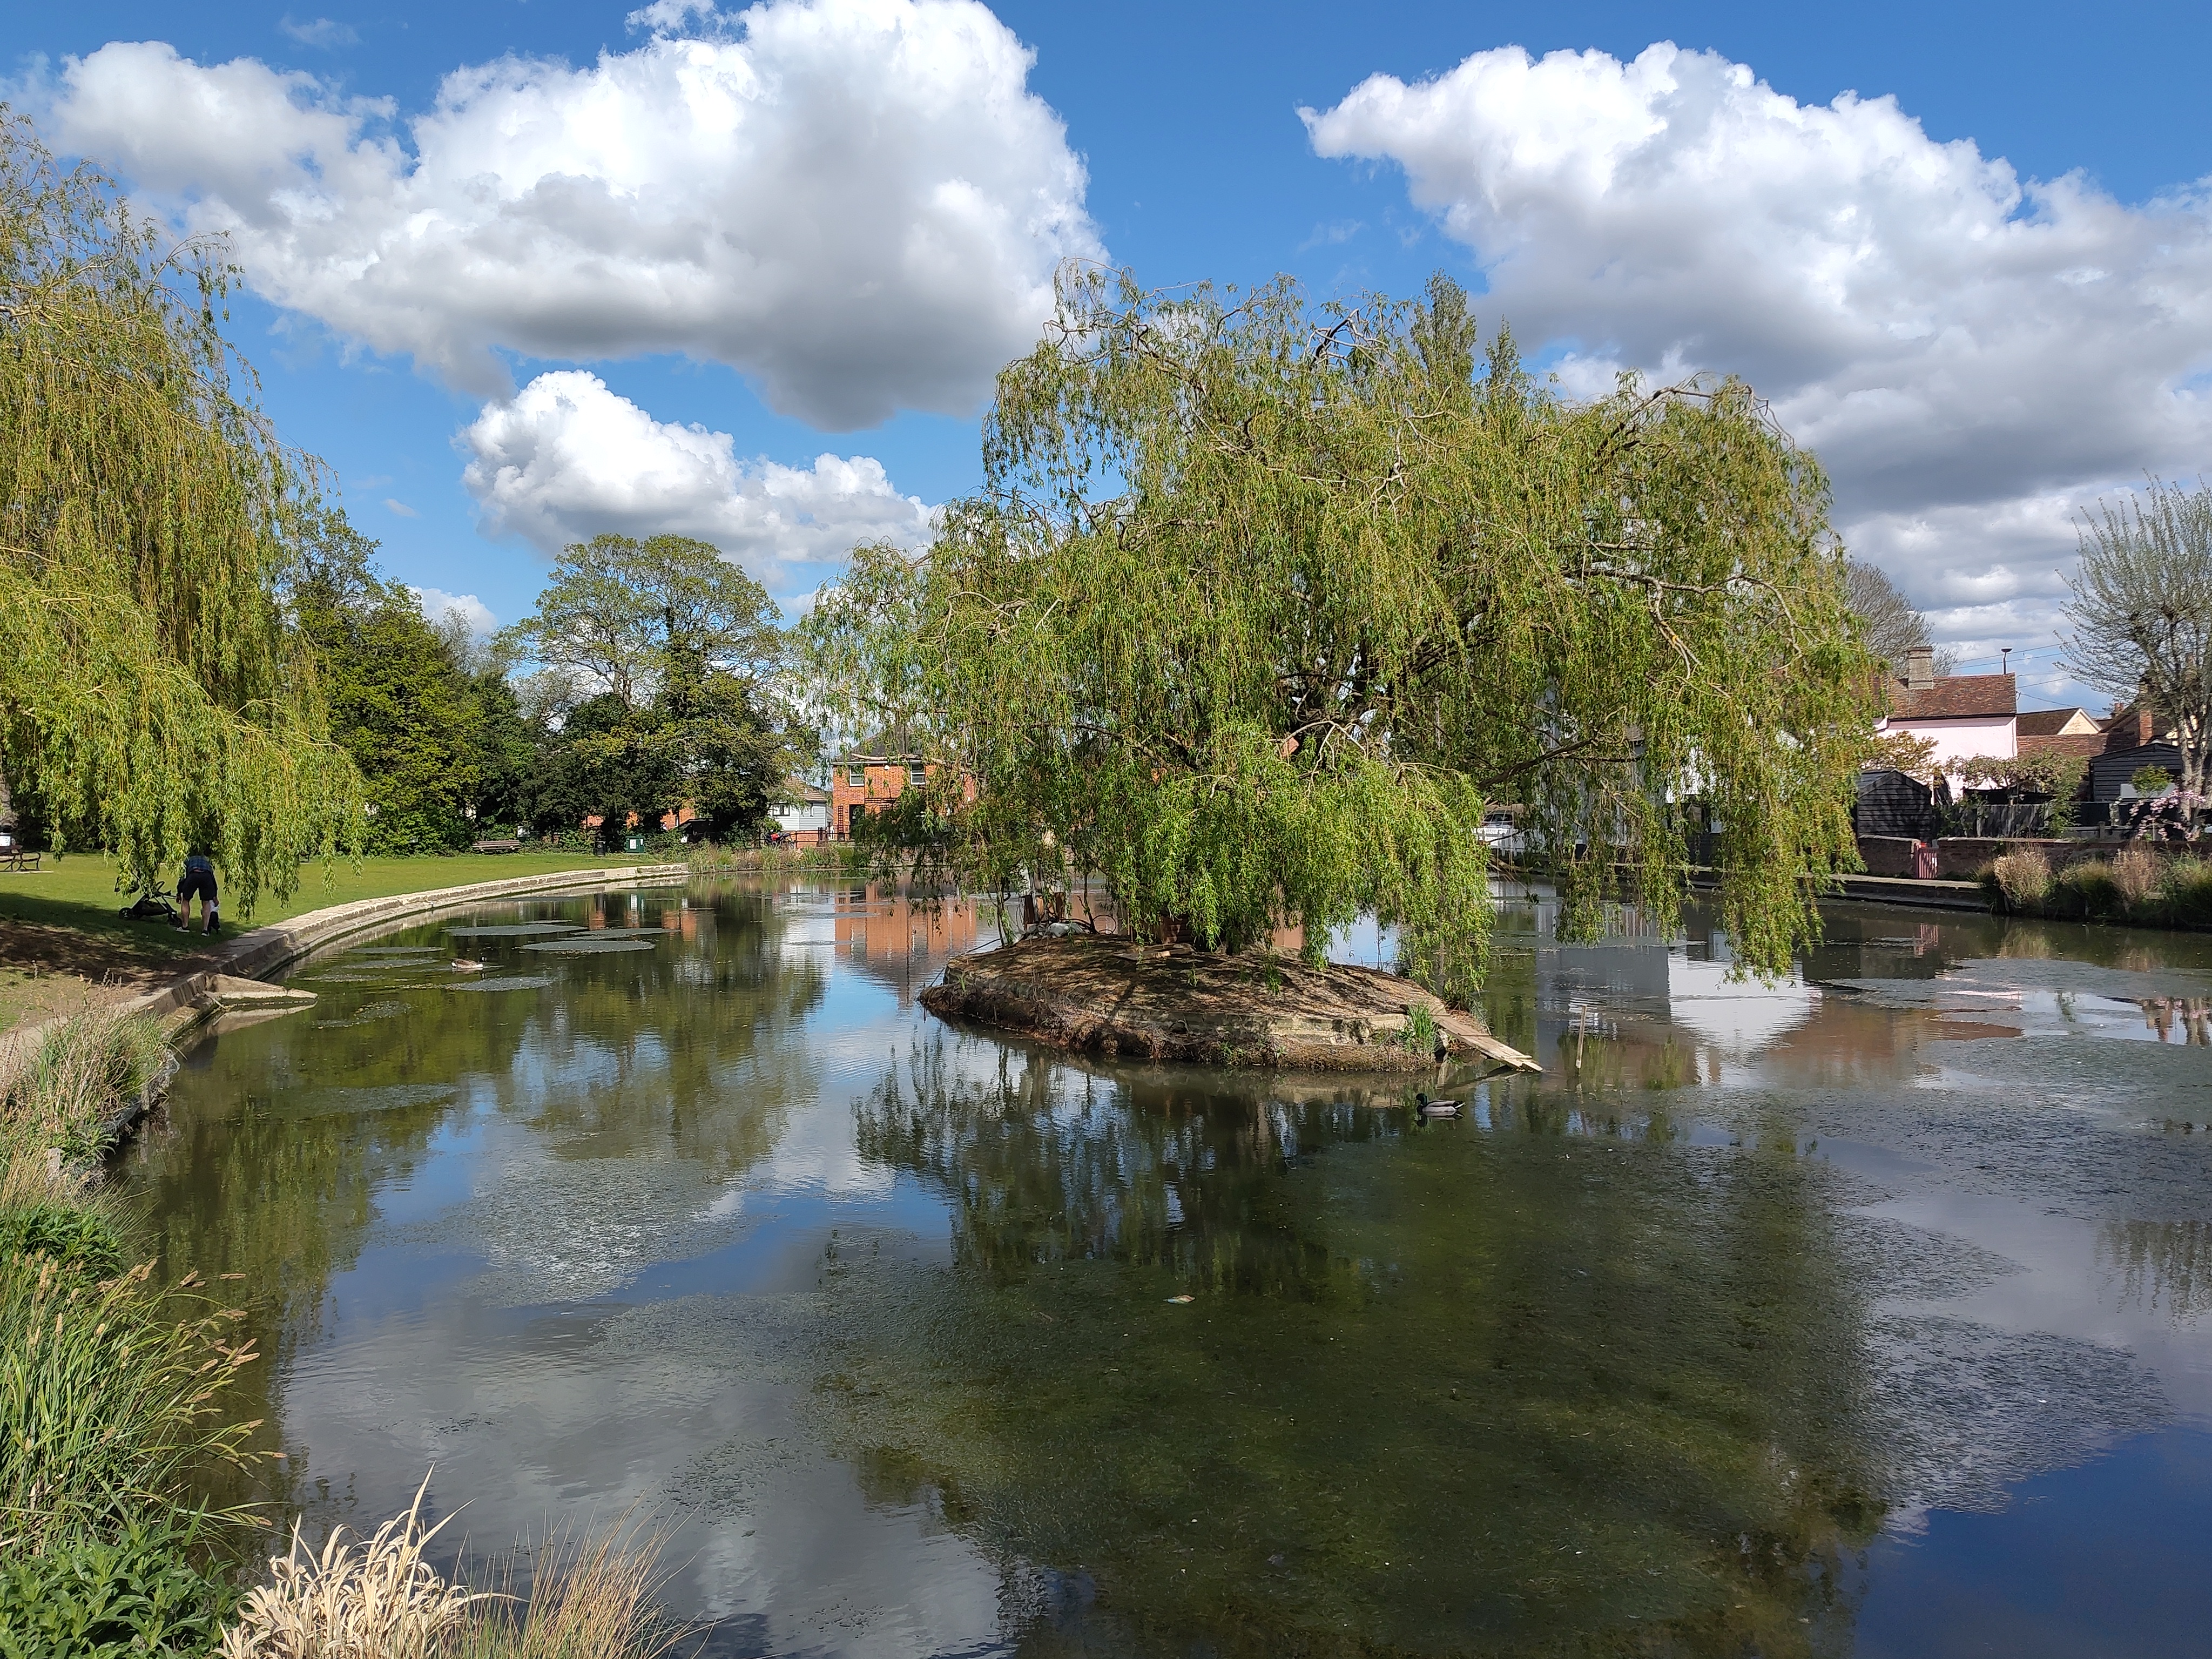
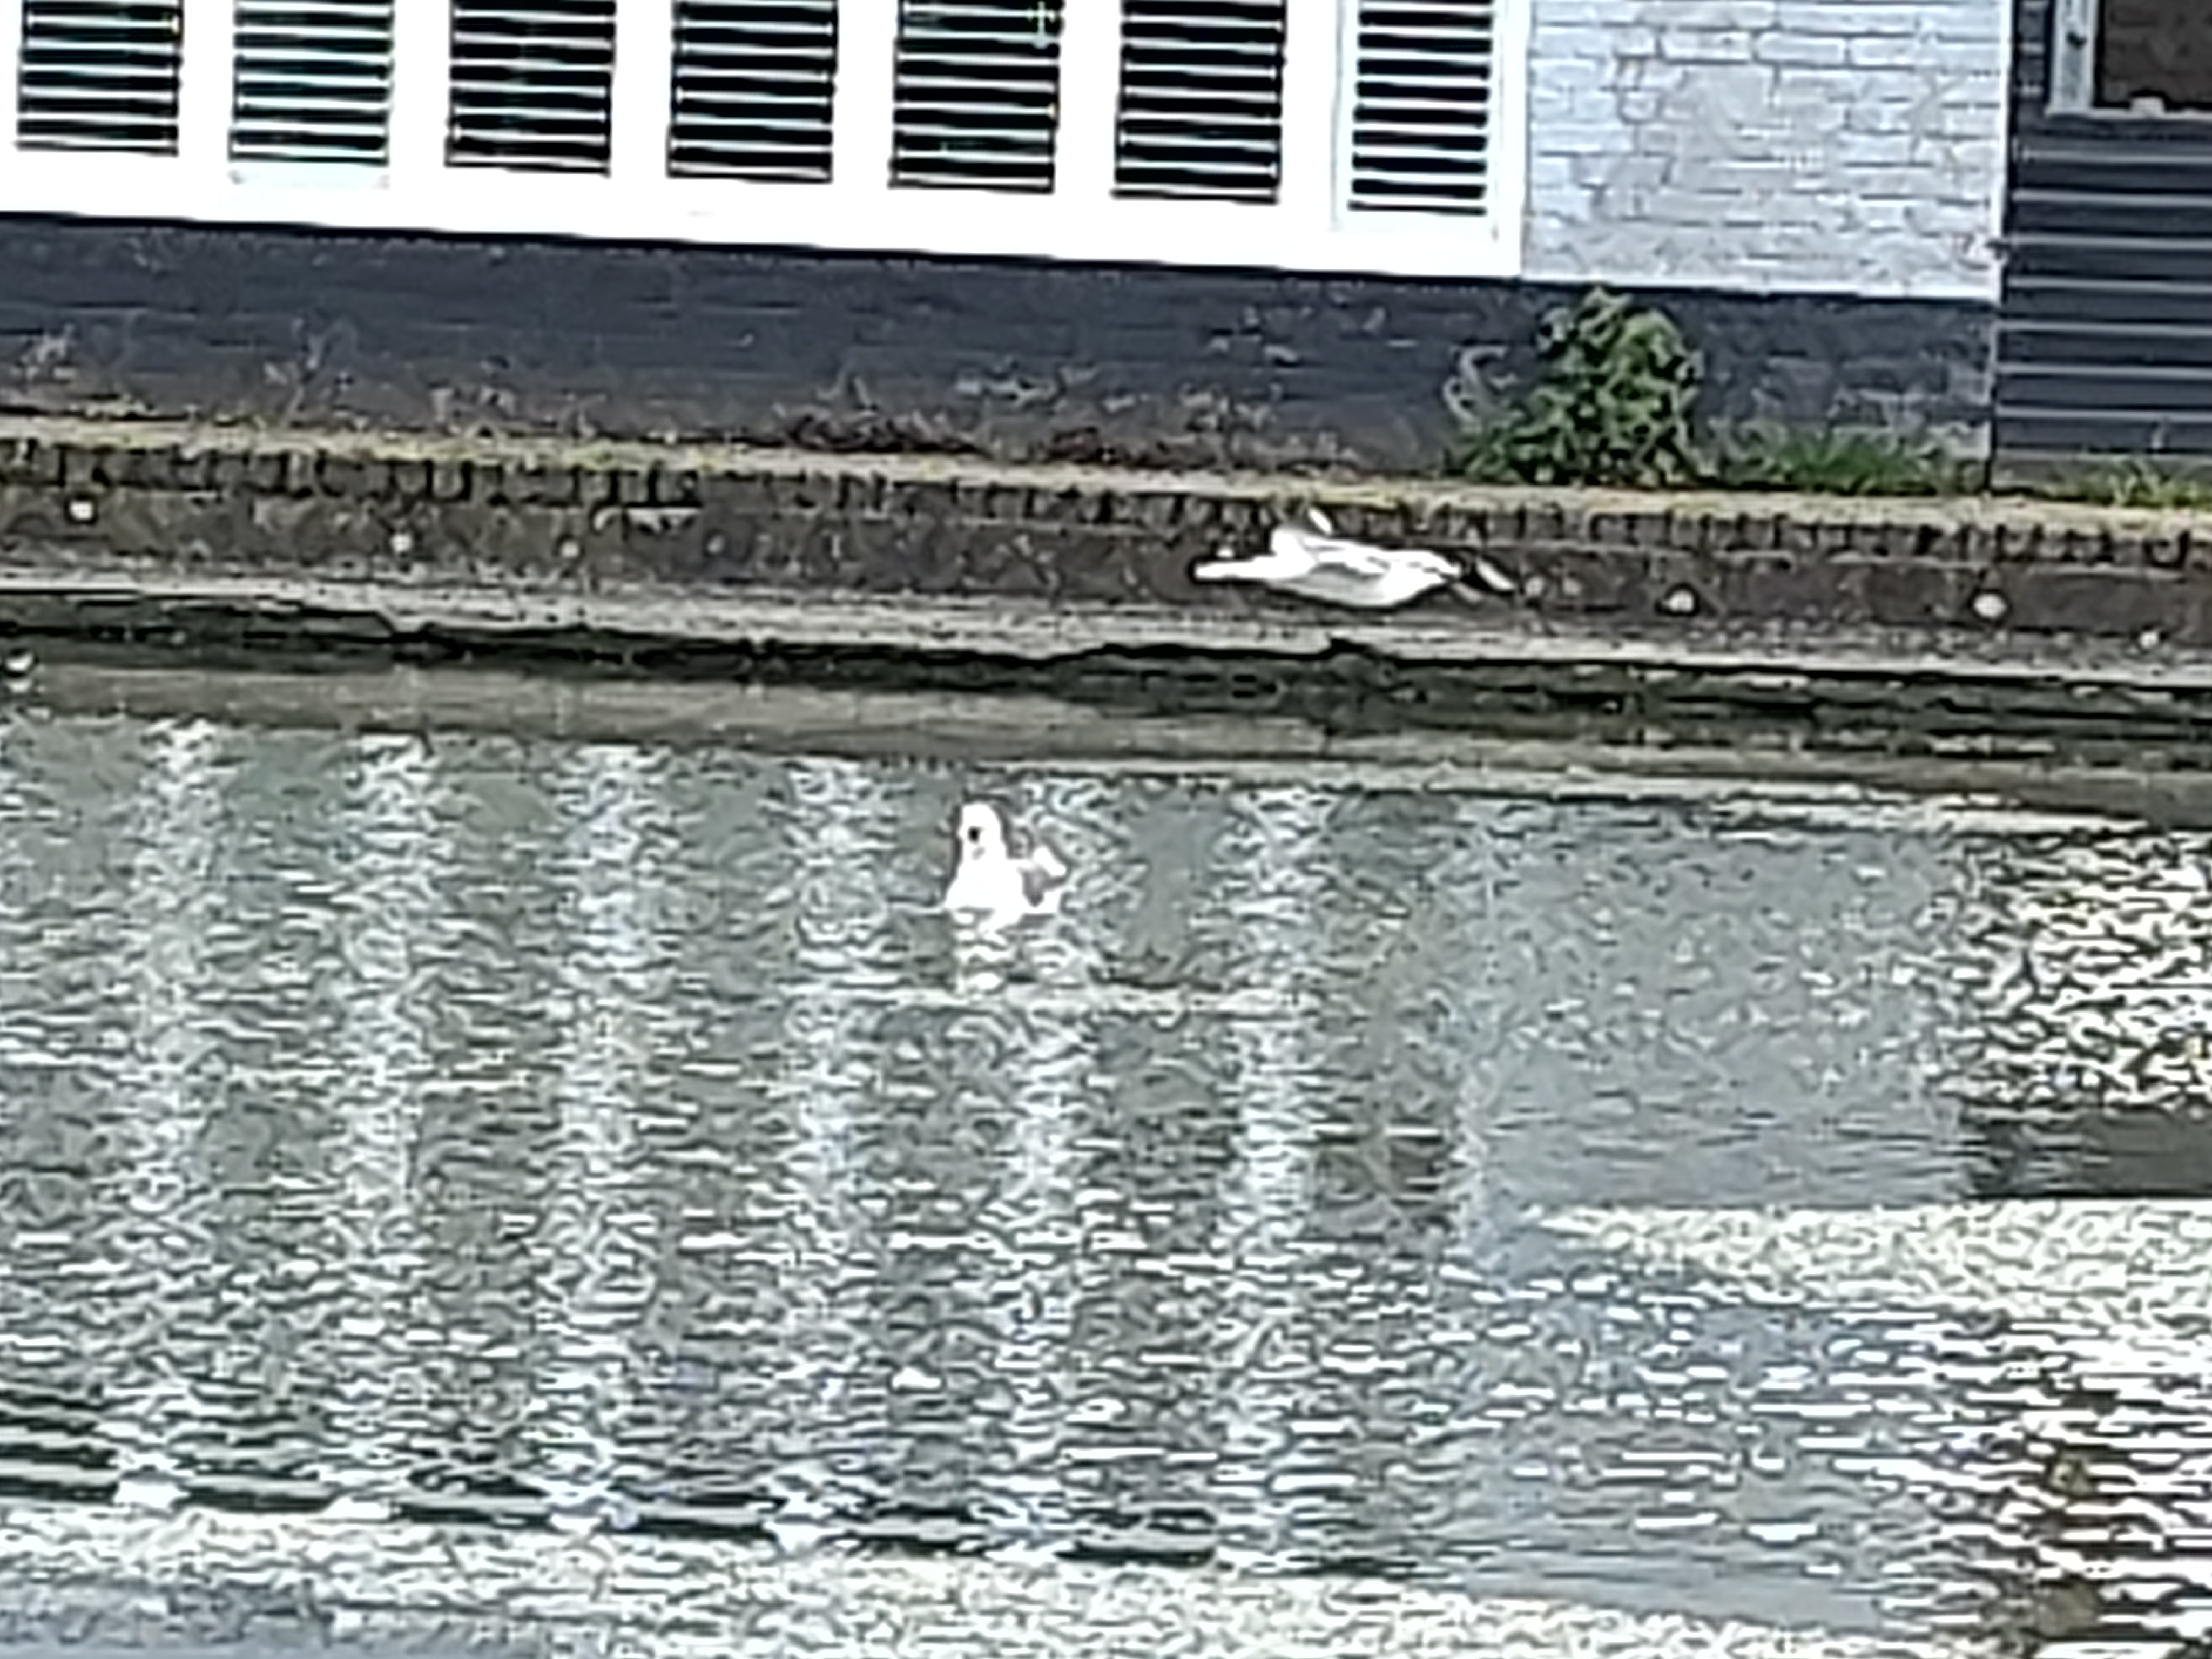
This is Danbury, just the other side of Chelmsford. Duck pond,
island, and duck house in the shape of a church. When I was there, the
pond contained two ducks, which you can just about see in the second
picture at the base of the left-hand tree, though maybe only if you
knew they were there already. So, this the second of two rides where
the destination duckpond was not empty, which means I can claim that I'm
getting my ducks in a row.
The ride there was along the A414, which is a long straight-ish single
carriageway with a rather boring 50mph limit and an even more boring
continuous line of cars travelling at 43. There were signs the length
of it saying "this is a high collision road", which I suppose explains
the speed limit because it was definitely a 60 in 2024.
On the way back I got bored of the A414 quite soon, and decided that
if I were going to ride in a straight line forever I might as well hop
on the A12 and get home sooner. But then after a couple of miles I saw
a sign for the B1007 and decided to come off there and stress-test the
satnav.
I'm glad I did. I didn't end up on the B1007 much, but on a sequence
of minor roads that took me through Stock, Ingatestone, Fryerning,
Mill Green, Hook End and Marden Ash, before emerging into terra
cognita just outside Ongar. And Kurviger must have been having a good
day because nowhere did it route me down a single track road with
strips of gravel down the middle.
My commentary rides still sound more like stream-of-consciousness
rides, but there were definitely a few opportunities to practice
looking-sideways-to-see-past-the-bend, even when the road appeared at
first sight to be bound on both sides by tall hedges, so yeah, I'll
take that.
Satnav didn't save the route, so I had to reconstruct it from the
dashcam footage. If I watch it back on 5x speed it looks like the Isle
of Man TT.
Next destination (unless I find a better one during the week):
Chapmore End.
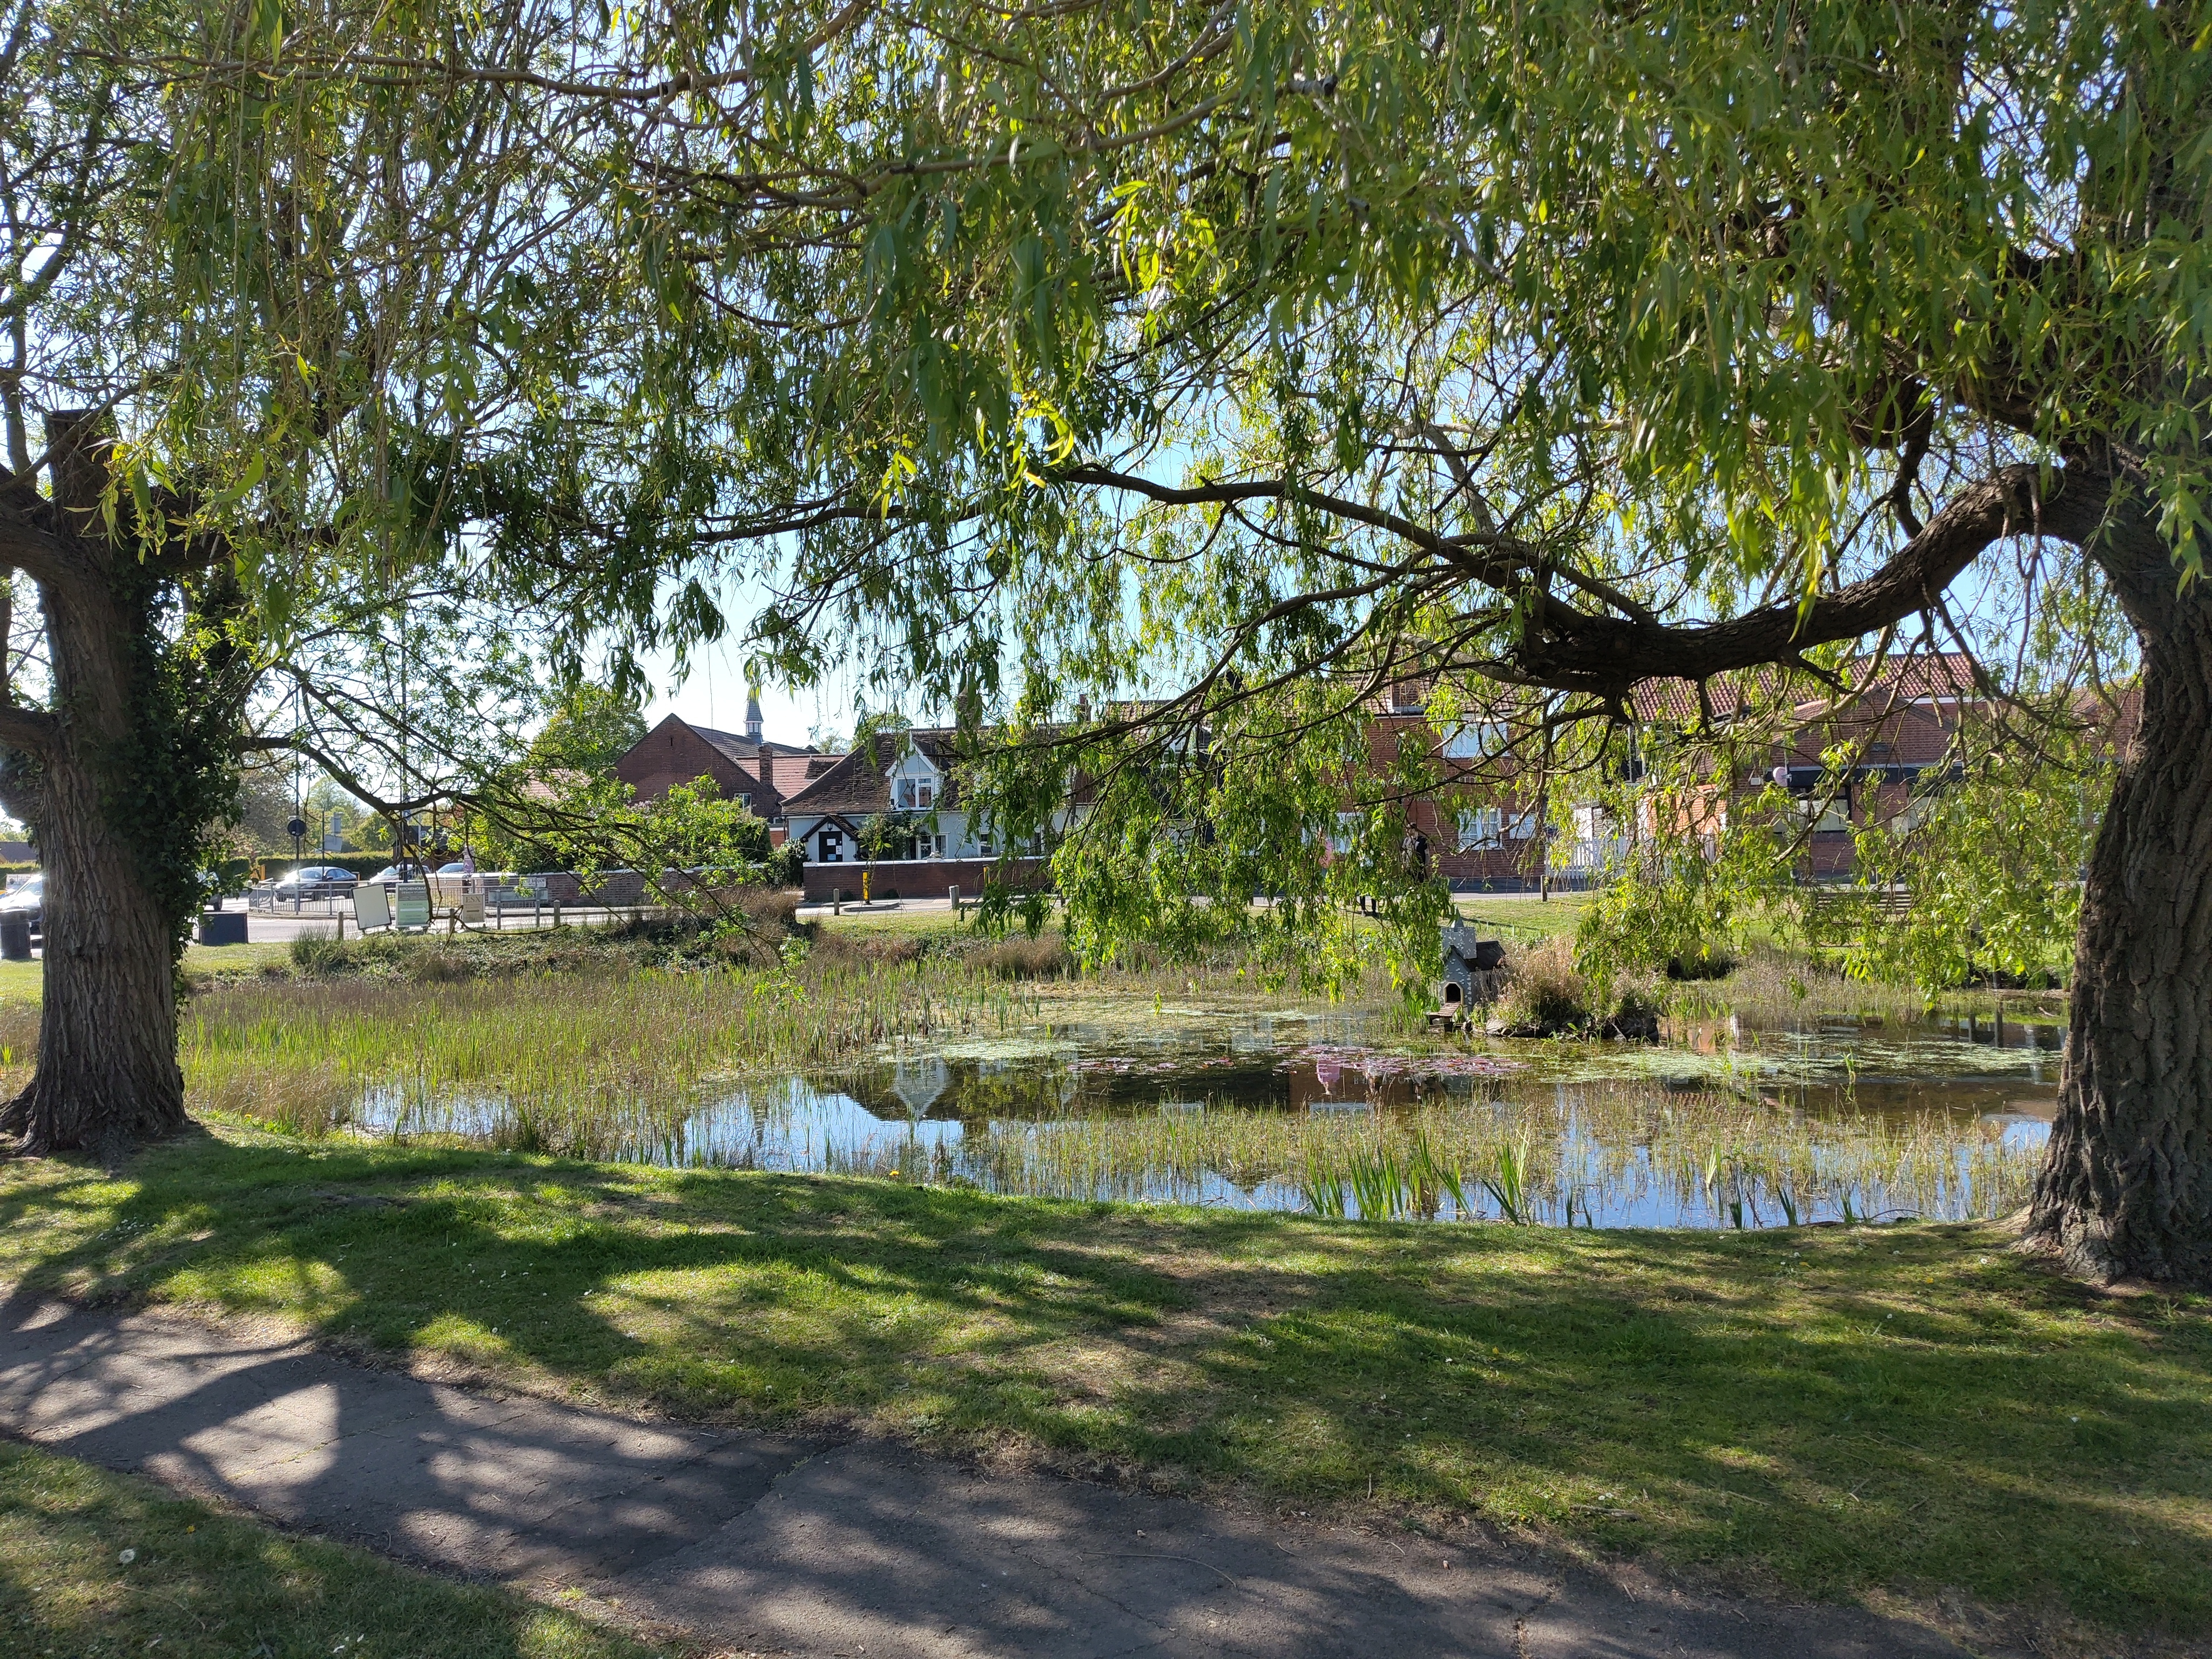
A first for 2026: on Saturday I visited a pond with ducks in it. Ride
out to Dunmow, in which we find a large pond, an island with a
duckhouse, some ducks, a small child (not pictured) feeding them, and
some willow trees. It's set in a dip in the land, so the grassy banks
slope downwards towards the water. Top marks for duckpond.
Two points deducted for the journey there, though. Joining the dual
carriageway, I identified a gap in lane 1, matched my speed to the
traffic speed, did a shoulder check as I crossed the line from the
slip road into lane 1, and when I looked ahead again there was a car
alongside me in the same lane I was in. So, wearing my surprised face,
I dropped back behind him. Reviewing the camera footage later it seems
that he had moved from lane 2 to lane 1 as I was moving from the slip
road into lane 1.
Accepting that these things happen and considering what we can do
to avoid it, the obvious strategy is to not be doing a shoulder
check at that time.
... which brings me neatly onto the second topic of this post: I did
an ERS day
on Wednesday and I have the certificate to prove it. It was billed as
an introduction to advanced riding, so we touched on topics like limit
points and
IPSGA
which I knew about in theory but don't always practise in
practice. Most of the day was spent riding - a mixture of some very
fun contry lanes, a bit of dual carriageway and some villages. I did a
couple of overtakes (no, not through the villages) that I don't
think I'd have gone for if I were on my own.
Most of my takeaways are riffs on the general theme of "information
gathering" (as the IAM would no doubt describe it):
Avid readers (both of them) will remember that last year I did a
TfL 1:1 training session in which I
was told I wasn't doing enough shoulder checks. Well, I started
doing more shoulder checks after that and ... now I'm doing them too
much. As in the dual carriageway not-actually-an-incident above: no
point in looking backwards for danger when I already know the lane
is clear and the most likely source of danger is ahead. (To tie this
into the theme: don't look round if there's no information to be had
by doing so)
seeing the shape of the road ahead by looking at where trees/hedges
are, or the lines between telegraph poles. Even just, sometimes,
looking sideways across the fields to see the road past the next
bend and the the oncoming traffic. I've watched videos where riders
say they're doing this but it didn't "click" until I saw it in real
life. Thinking back, I had the same experience with limit points.
commentary riding: a few times I missed opportunities basically
because I came out of one hazard (e.g. a roundabout) looking at the
back of the car in front instead of already planning for the next
hazard (a slow lorry on the exit, or a queue of traffic). I've
tried commentary riding before and I found that my brain can't form
words fast enough to explain everything, and what comes out of my
mouth is "that thing is coming out of the thing over there, oh look,
no not you, ok, let's take that, no". But the
instructor took the lead along one leg of the ride and
commentaried(sic) it and it was noticeable that I was faster and
smoother listening to his commentary than I would have been without
it, so definitely worth persisting.
(I have an idea that this is related to the cognitive psychology
concept of
chunking: by
articulating what's happening and what we'll do about it, it
encourages the brain to form associations, and so allows operating
on more information because individual units are combined. Caution:
I have entirely no evidence to support this hypothesis but it does
sound beguilingly plausible, which is very often the case for things that aren't
true)
positive feedback on machine control and "making progress", which
was good to hear
According to my trip counter it was a 150 mile day (including about 50
miles to get to the start point and home from the finish) and I was
feeling pretty bushed afterwards, as my usual ride is 2-3 hours and
about a third of that distance.
Returning to the original topic: I don't think there's much else worth
saying about the ride to Dunmow, except to admit that the flying duck photo was
a fluke. Lots of traffic meant not many opportunities to get up to
speed, but it was warm and sunny which kind of made up for that.
First (and only, so far) ride this year in mesh jacket, summer gloves
and Bowtex leggings. On Wednesday I had a 7:30am start and was was
back in full leathers.
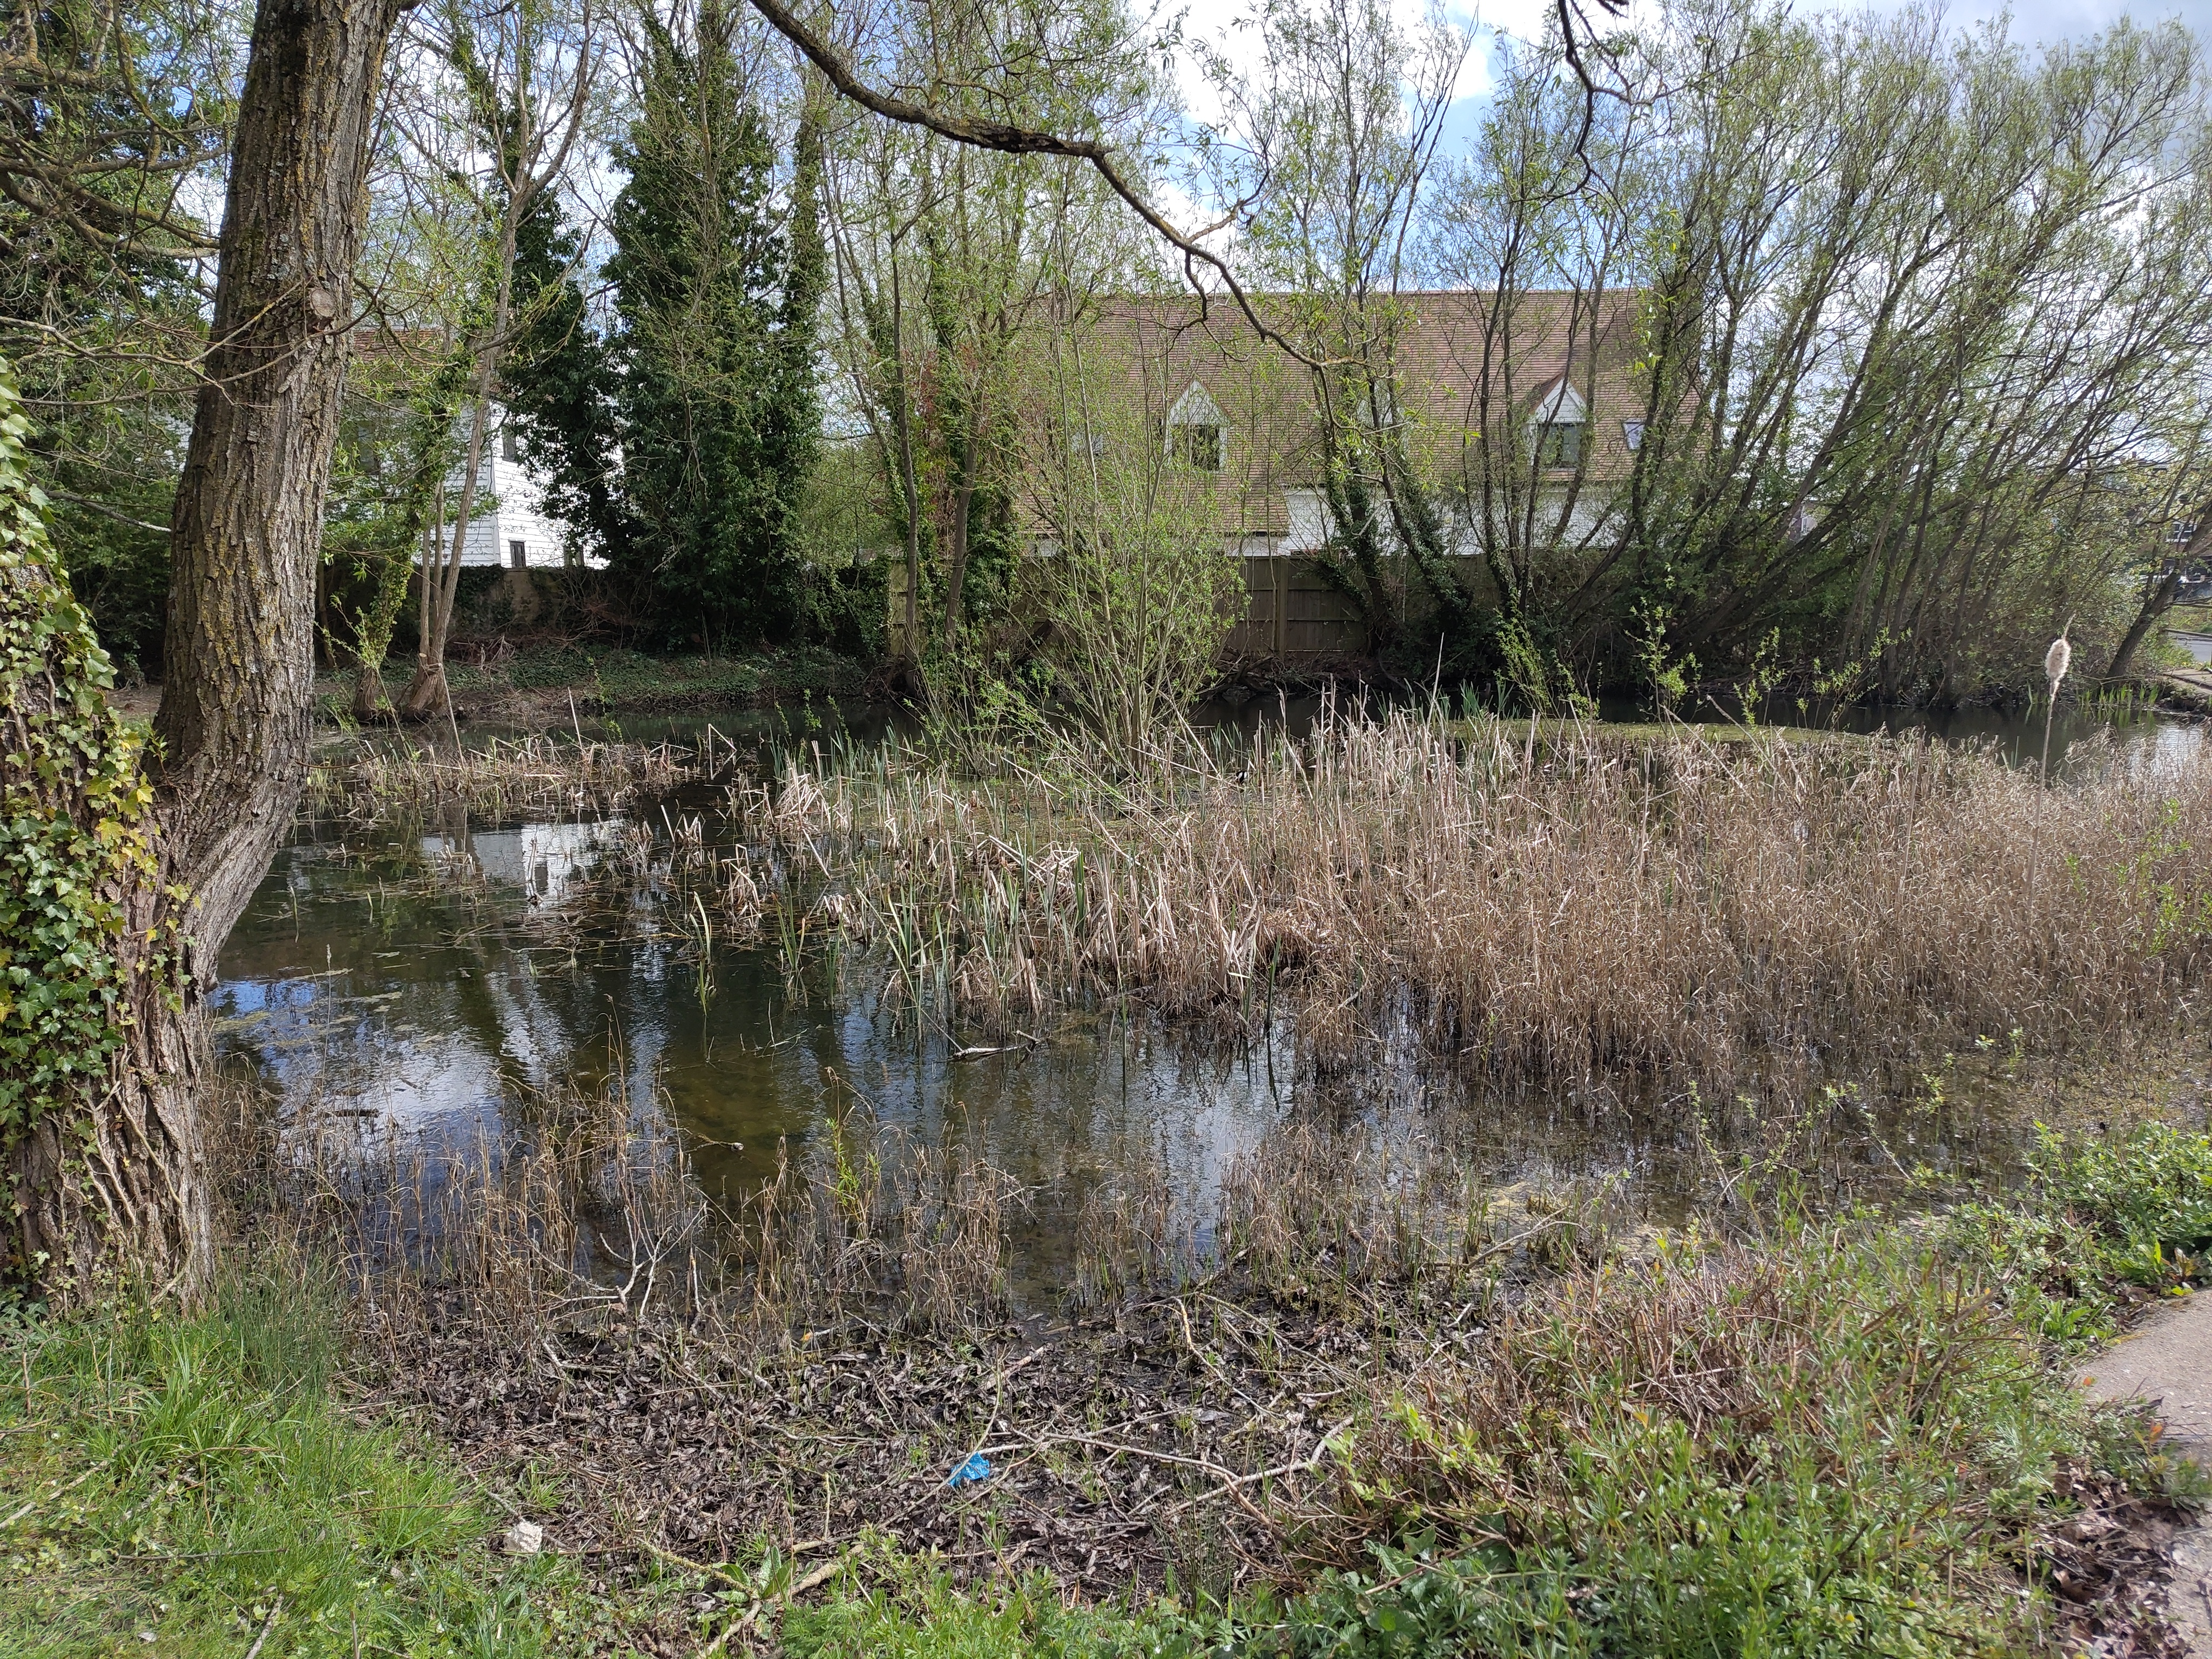
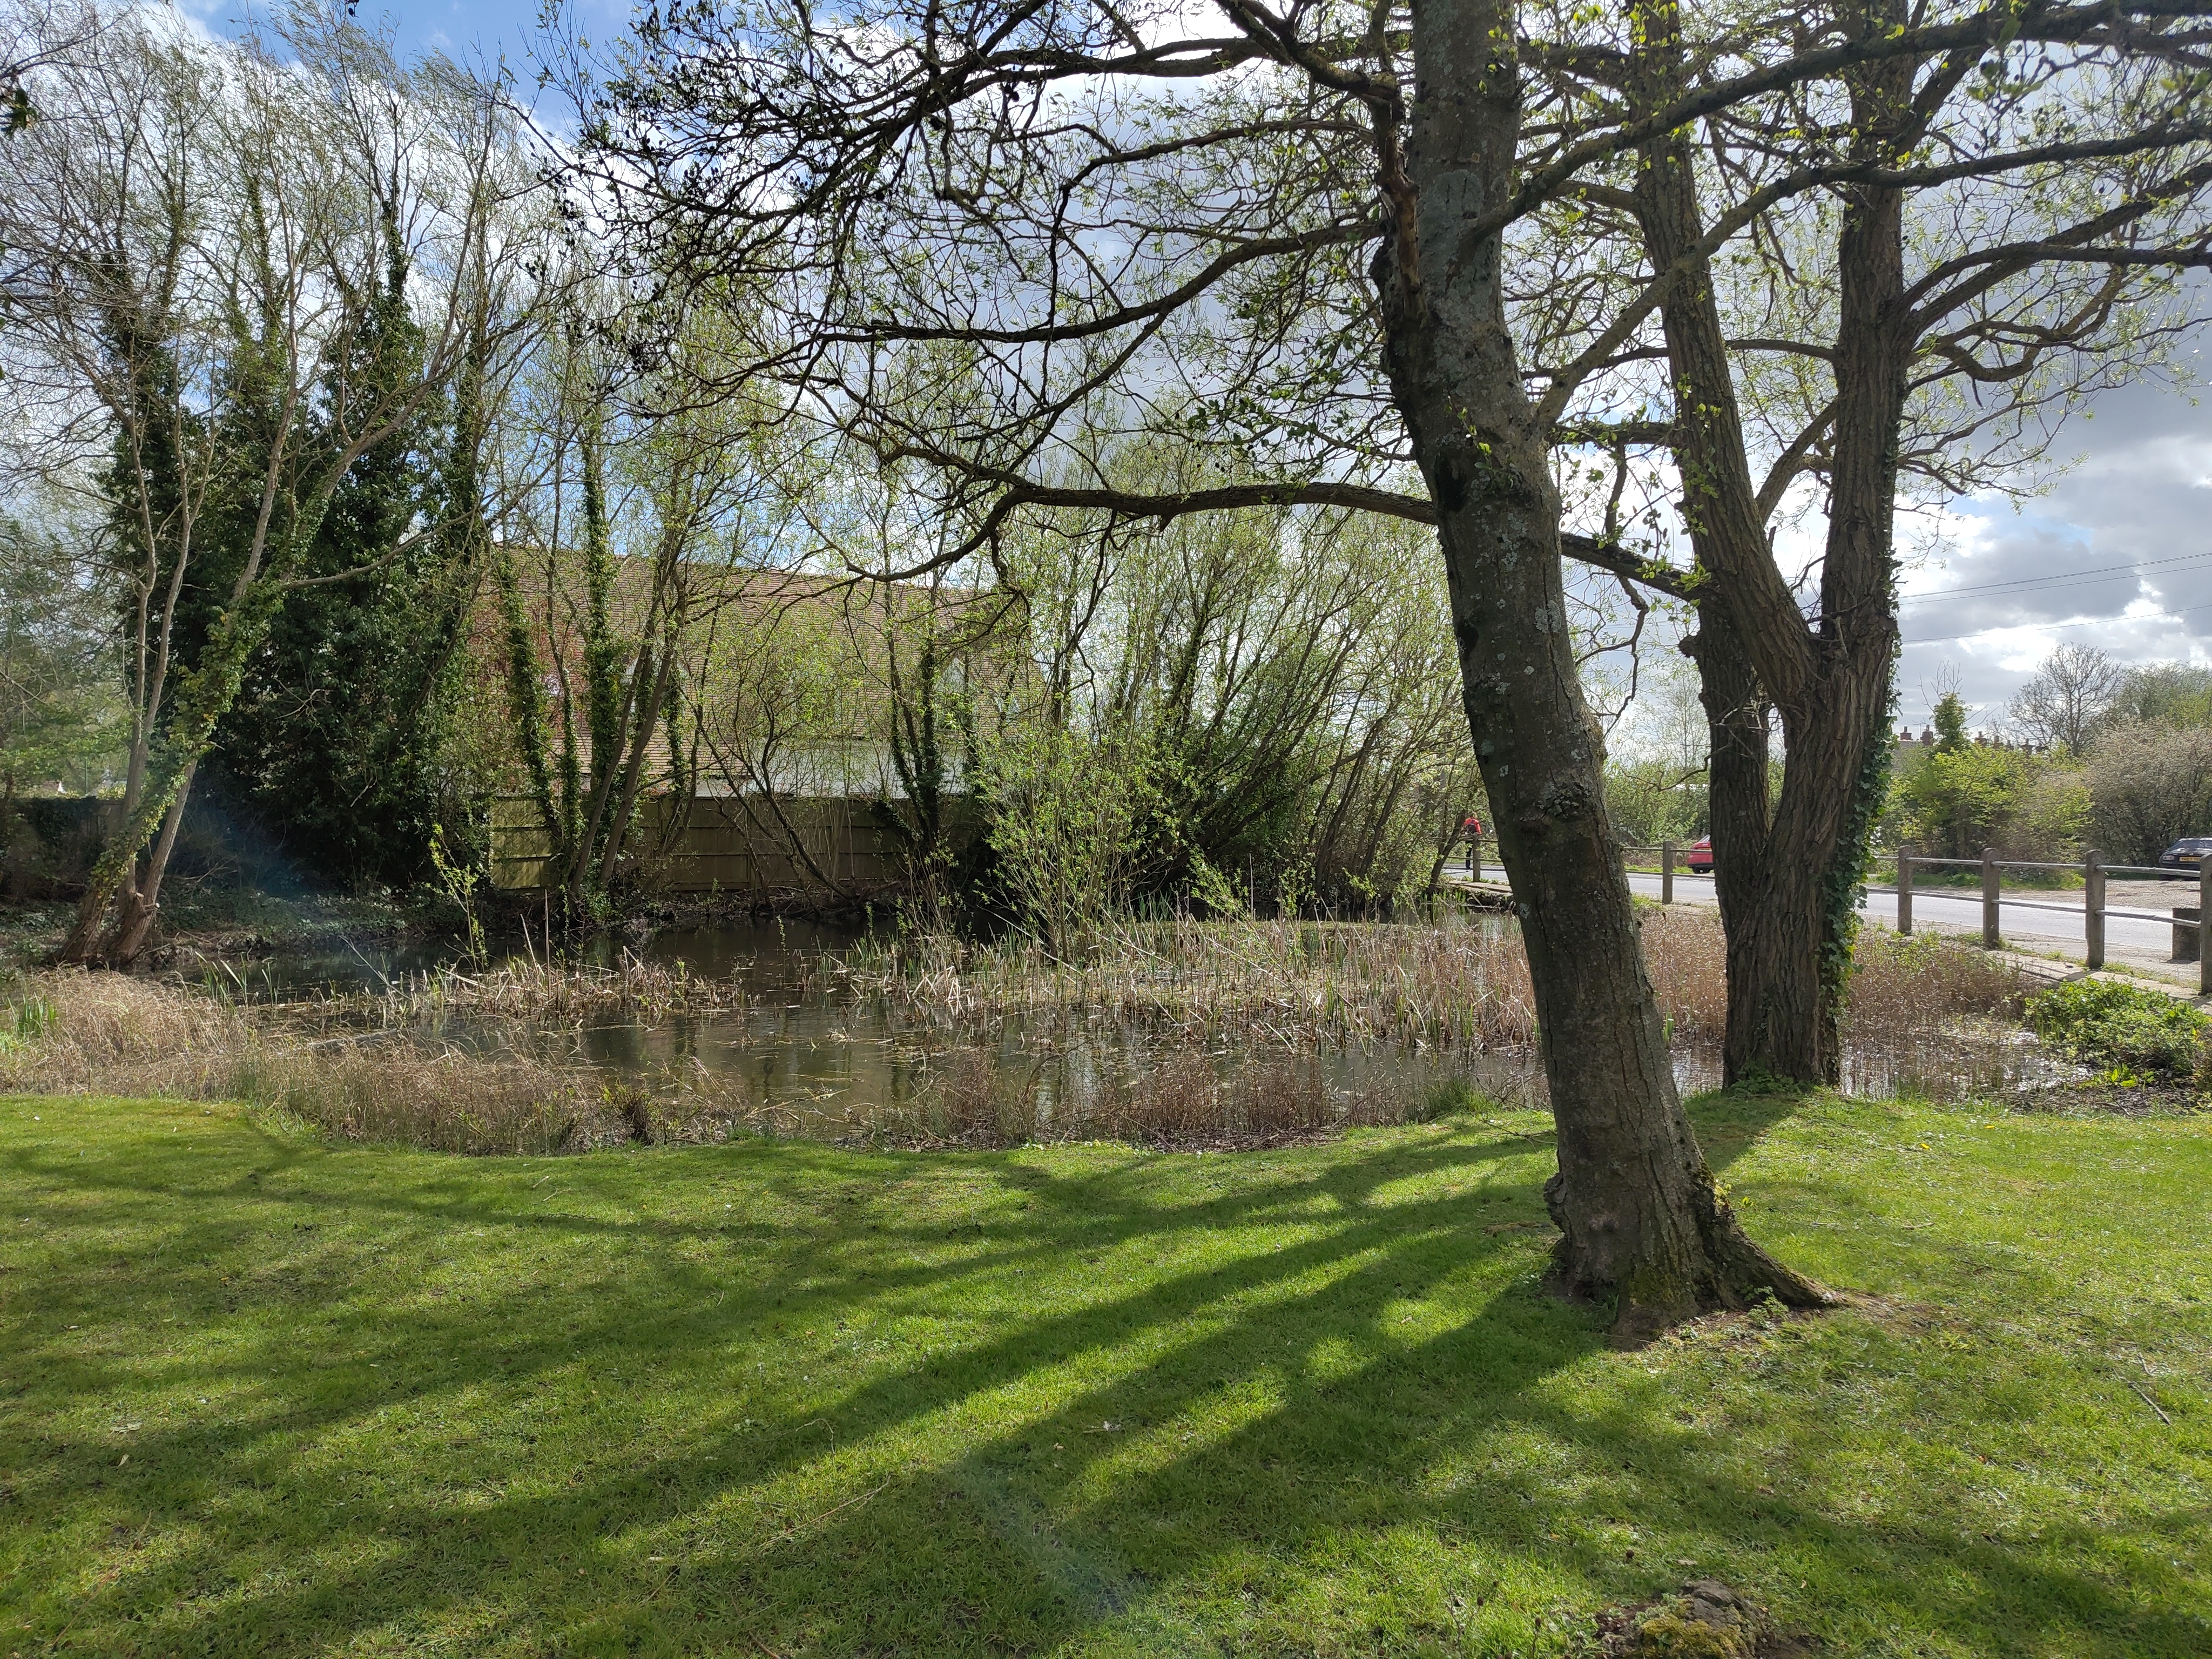
My quest to visit all the duck ponds in Essex and Hertforshire has
involved a lot of looking at Google Streetview, and when I saw this
one near Epping Green it
looked a bit overgrown and unloved but I figured I'd stop by anyway on
the way to pick up new brake pads in Harlow.
Just like the previous pond, there were no ducks - I may have to
broaden my selection criteria - but despite that, I am feeling
tremendously pleased about having stopped there anyway. It's
obviously seen a bit of maintenance since the Google car went past,
and was so much lovelier to visit in person than I was expecting. It's
sited in a small grassy area with some trees around and it's just
... sort of heartwarming. Probably helped that the sun was out.
The pub is across the road and has been closed since 2019, which is a
bit of a shame as it would be a lovely place to sit outside with a
drink and look across the road. As far as I can tell from the
internet there are/were plans to reopen it as a community pub but I found no news on that more recent than Dec 2024.
From Epping Green to Harlow via a tedious litany of suburban
roundabouts, which would have been less faff if my satnav wasn't
giving me the silent treatment. Collect brake pads from Sportbikeshop,
then a mildly circuitous and much more rural route home via Old
Harlow, Matching Tye, Matching Green, Moreton, North Weald Bassett,
Epping etc. There's a very nice stretch of road between Harlow and
Matching: bendy enough to be fun but open enough that you can see
further than one bend ahead.
I have booked an
ERS which
is happening in about ten days and I hope will be
fun/interesting/informative. I'm not going to be at all defensive
about having my riding criticised, no, definitely not.
I've pivoted twice on Eculocate since the previous blog post: first a
minor change of direction and then followed by a much bigger one.
I'll start with the bigger one: I've stopped working on it. This is
because I am 95% sure it won't actually work with my motorbike. What's
my basis for this?
consider: "gear indicators" for motorbikes with k-line diagnostics plug into the
ECU diagnotsic port (in fact, the honda k-line protocol was pretty
much reverse-engineered using one of them). The gear indicators for
bikes of the same age as
mine
tee into the speed sensor connector and also tap the rpm input to the
ECU. Why would they do this if they could just use the diagnostic
port?
if you have a fancy workshop diagnostic
tool,
the appropriate cable to use it with a 2001 CBR600F is described as
a blink code
cable -
which rather suggests there isn't any more data provided by the ECU
than ... blink codes
I don't know definitively that it won't work. I do know that if it
doesn't work and it releases any kind of magic smoke, replacing the
ECU is going to cost a pretty huge amount of money. So, Im just not
going to.
That's the major pivot.
The minor pivot, which preceded it, was when I realised that I can't
use the Python Bleak
library on my phone with Termux, because its Android
support
uses a different Python-for-Android backend than the Termux
linux-userland-for-android. Argh. So, I decided to stop trying to do
Android, and instead dusted off
Biscuit which is my previously
abandoned project to make a bike computer using a Motorola G4 Play
phone (it has a removable battery and is old enough to be reasonably
well supported on mainlin Linux) running Mobile
Nixos. So I
added an eculocate
module
and ported the eculocate gui
client
from termux:gui to Gtk and then I thought I'd better check a few things and then
I had the major pivot. So, that's the chronology.
What now?
I've spent a few days bringing the stalled Mobile Nixos device back
up to date: current nixpkgs, rebase against current mobile-nixos
version, upgrade to later kernel, etc. Will have to figure out what
else is outstanding before I can reasonably ask for a review/merge.
and some time on the "maps" app in biscuit, mostly just to make the
scrolling less lurchy as the gps moves around
and some time on the quite unrelated task of bringing Liminix back
up to date so it can be built using a current Nixpkgs version rather than the last release but one.
The plan currently is to get Biscuit into some kind of shape that
I can dogfood it:
at minimum, show a gpx route overlaid on the map
extra credit, add kind of turn-by-turn navigation/rerouting if the
rider should stray from the gpx path
given that (last time I tried it) the phone wouldn't acquire a GPS
lock in less than ten minutes, there may still be a role for reusing
(parts of) eculocate to provide external GPS and maybe some other
sensors like IMU - perhaps even buy one of those
tap-the-speed-sensor gear indicators for its wiring and expose the
bike engine speed. Project GXXR has
lots of interesting stuff on this subject.